Rest API
Overview
The Atria REST API provides a comprehensive set of endpoints that enable developers to integrate and automate tasks within the Atria platform. It supports a wide range of functionalities, including user management, service provisioning, subscription management, and reporting. Built on modern REST standards, the API ensures secure, scalable, and efficient communication between external applications and Atria’s core services.
This guide will show you how to setup and use the API, and then move on to an index linking to the various capabilities of the API.
Setting Up the API
The Rest API resides on the AtriaWeb server and runs as Atria ExternalAPI. You can use IIS to check the binding and find the URL you need to access the API:

In this example, the URL is https://atriaweb:8097.
Alternately, you can access the API by heading to https://{atriahost}/api.
NOTE: This is the preferred way to access the API. The Proxy website will redirect the request to the External Api site automatically
- From a browser window, enter the URL and you will be presented with the below:
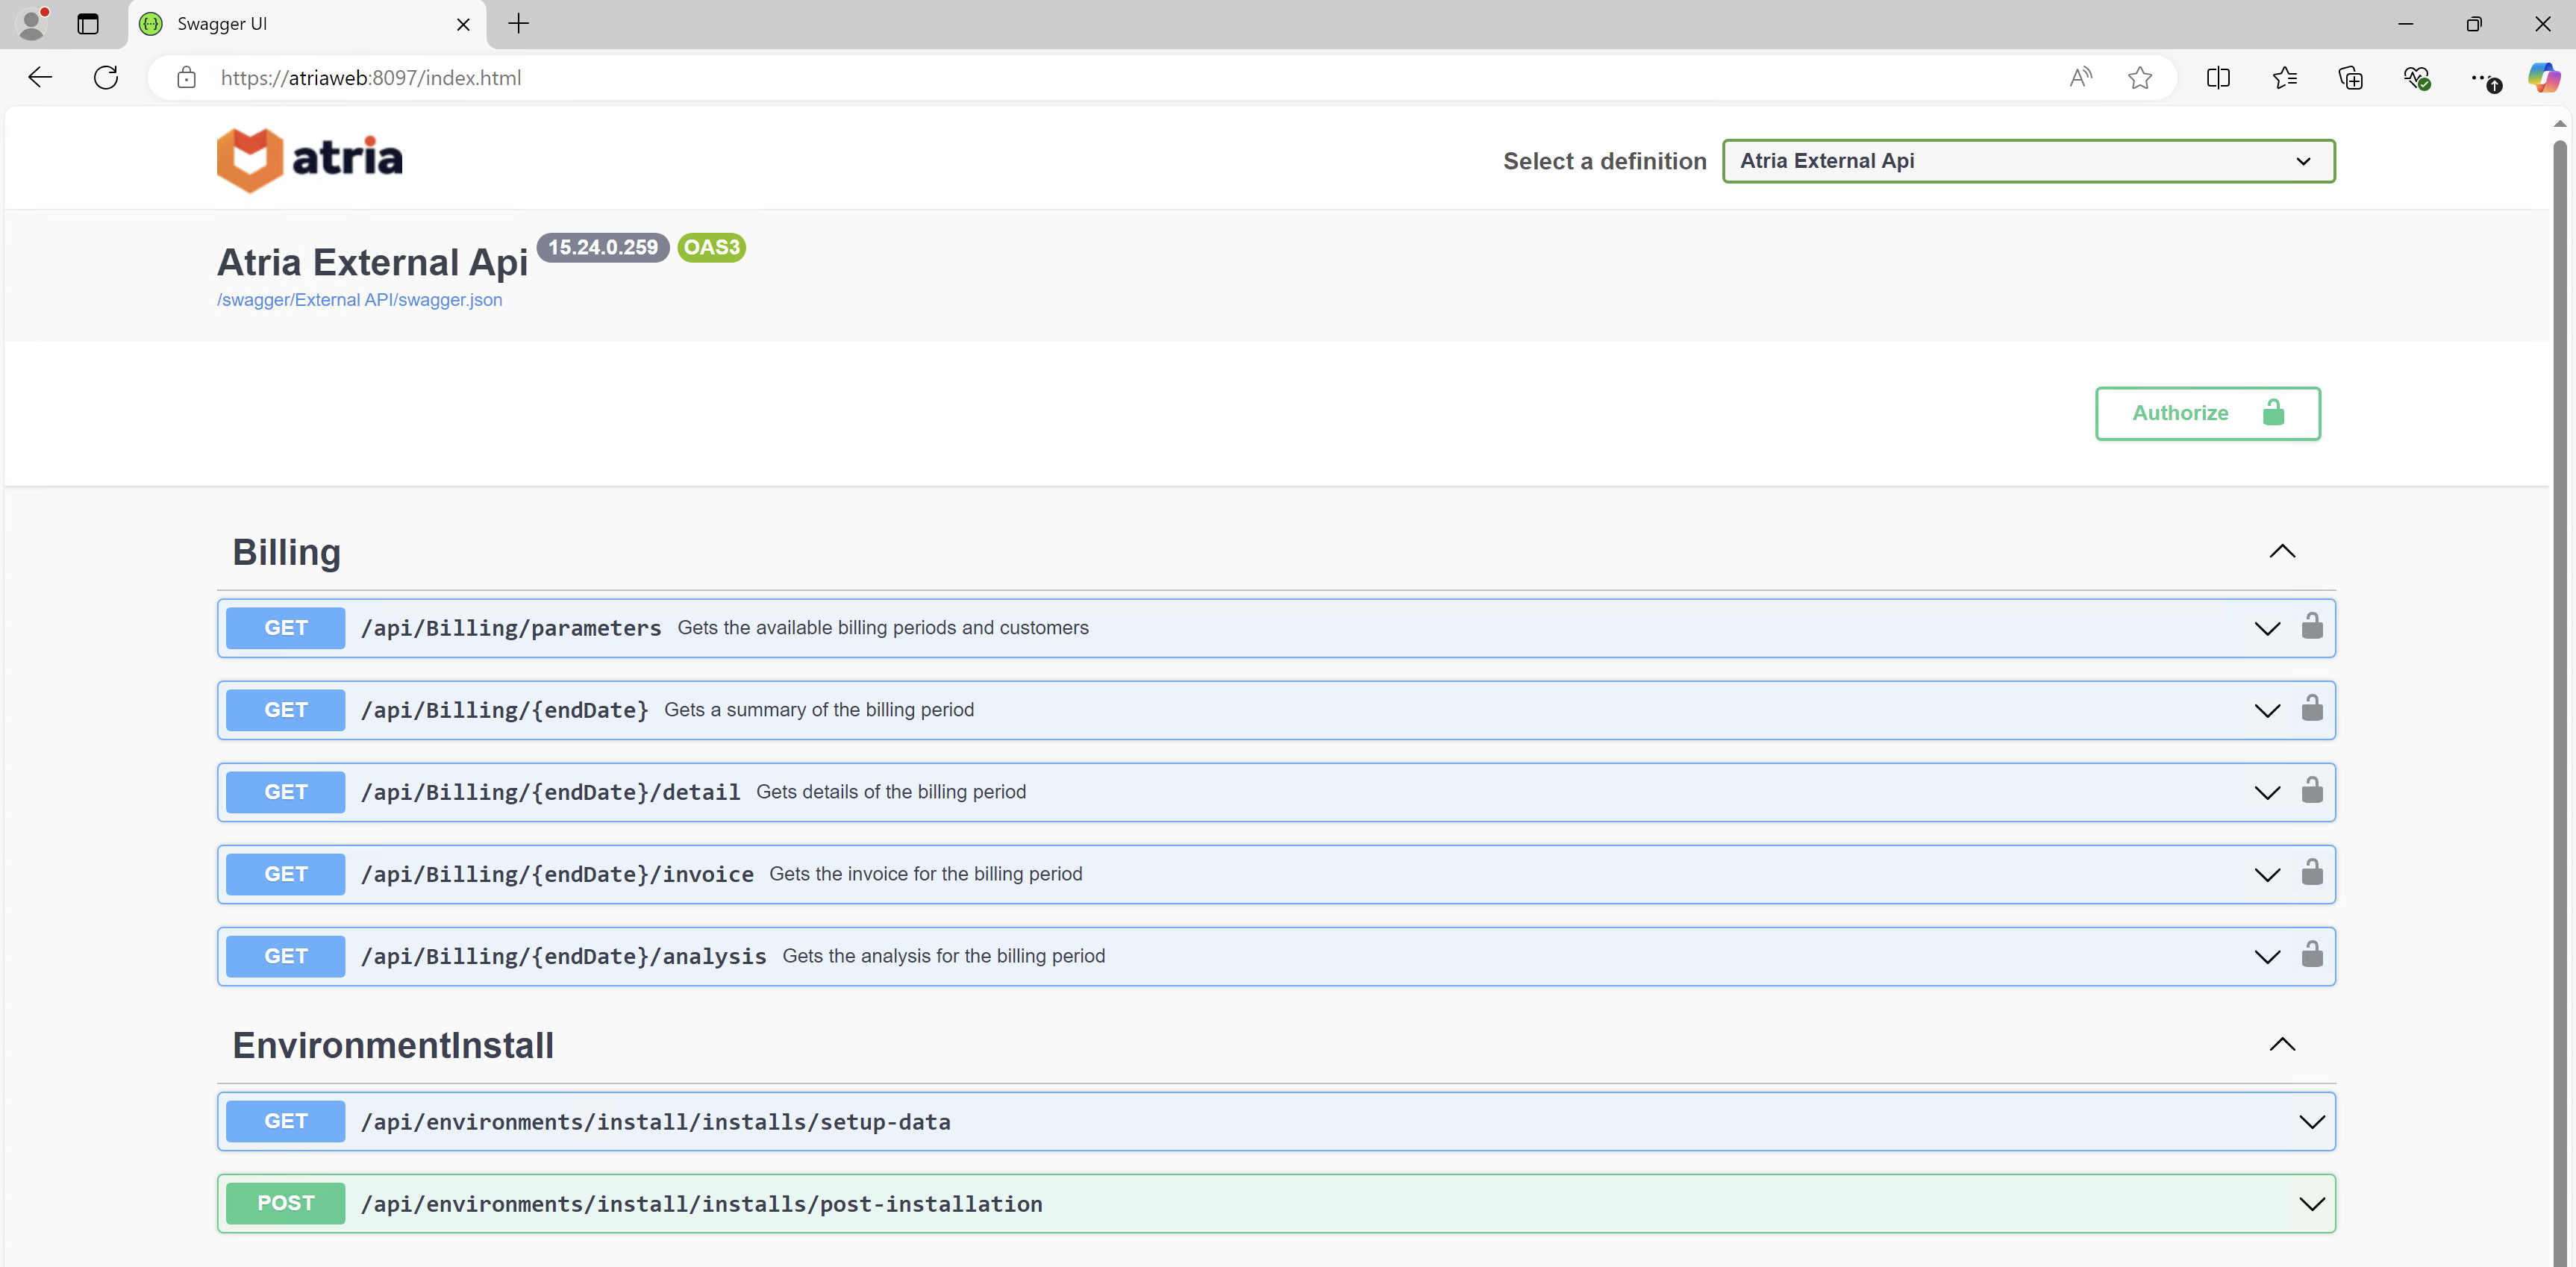
- You can use the dropdown menu in the top right to switch between different categories:

- These pages display the available functions/ methods you can use:

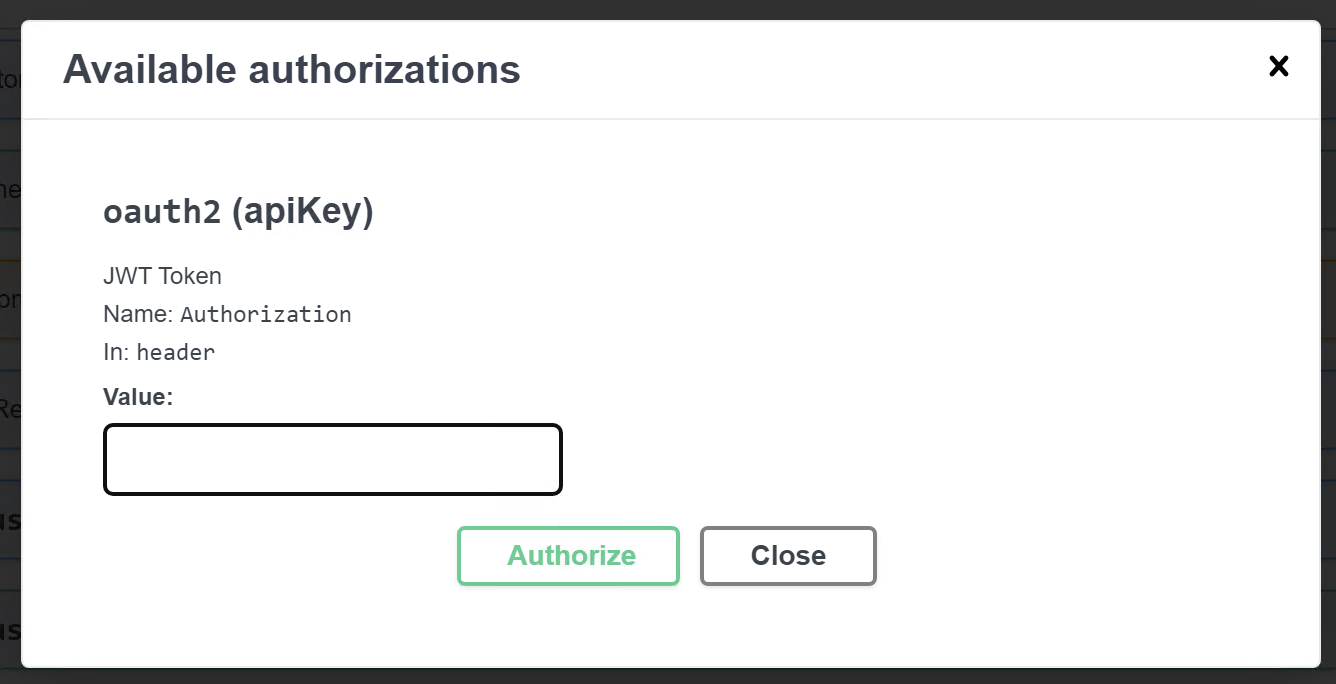
- You can run and test the available functions directly from the browser, however to do this, you need to authorize yourself:

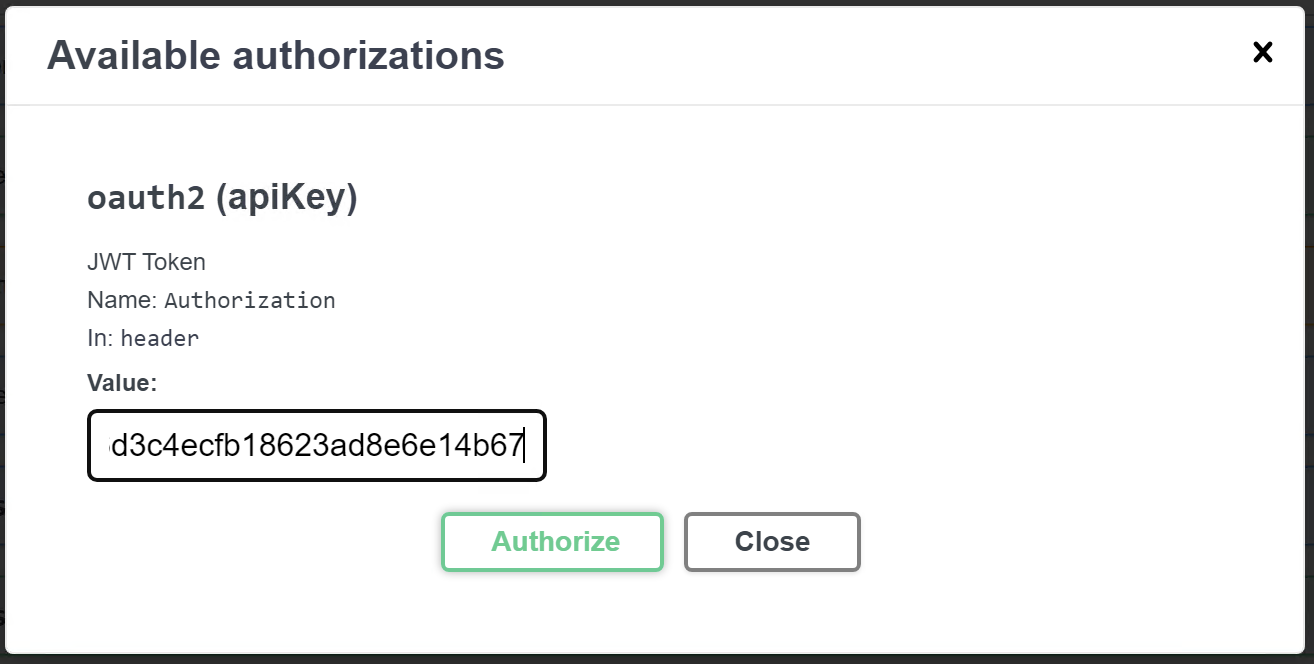
- Click the Authorize button to be prompted for an oauth2 key:
-
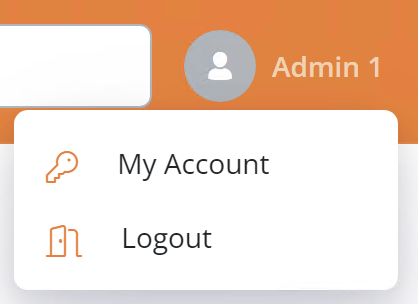
Login to the Atria platform with an account who has been granted the Api permission.
-
Navigate to My Account:
- Open the API Tokens page:
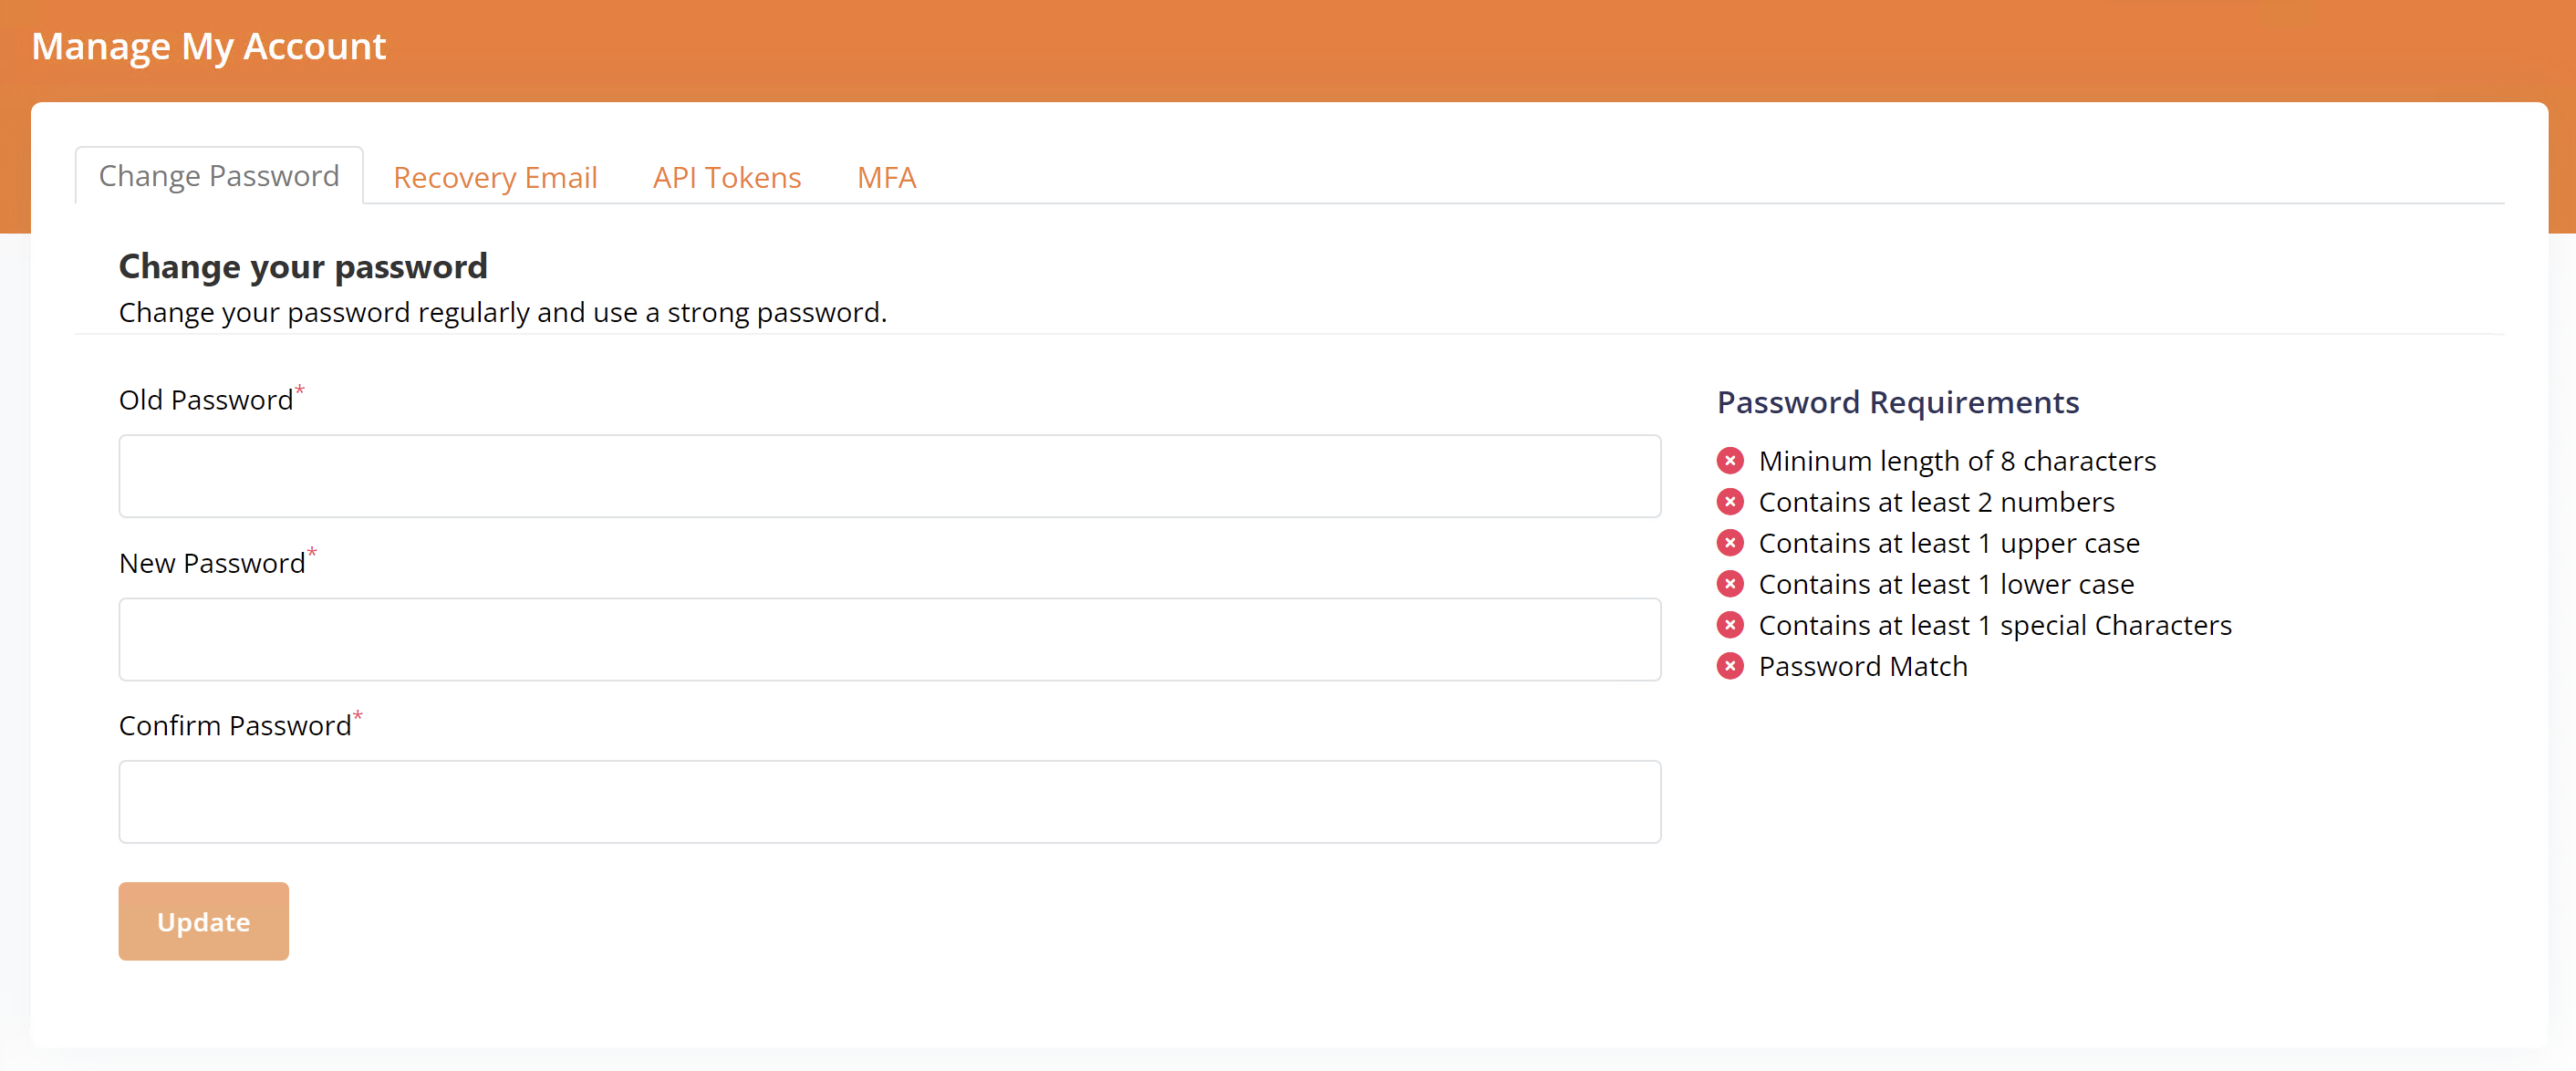
- Click Generate:

- This will generate you an API Token. This token will only be shown once, and will have an expiry which is shown in the record below:

- You can also use this page to delete tokens that are no longer in use:

- Enter the token into the API authorization box and click Authorize. This will unlock the browser interface:
Using the Browser Interface
Each API function specifies its action and has a small description of what it does:

- Click on the arrow to reveal the parameters associated with the function.
- Click Try it out to unlock the parameters and allow you to test the function:
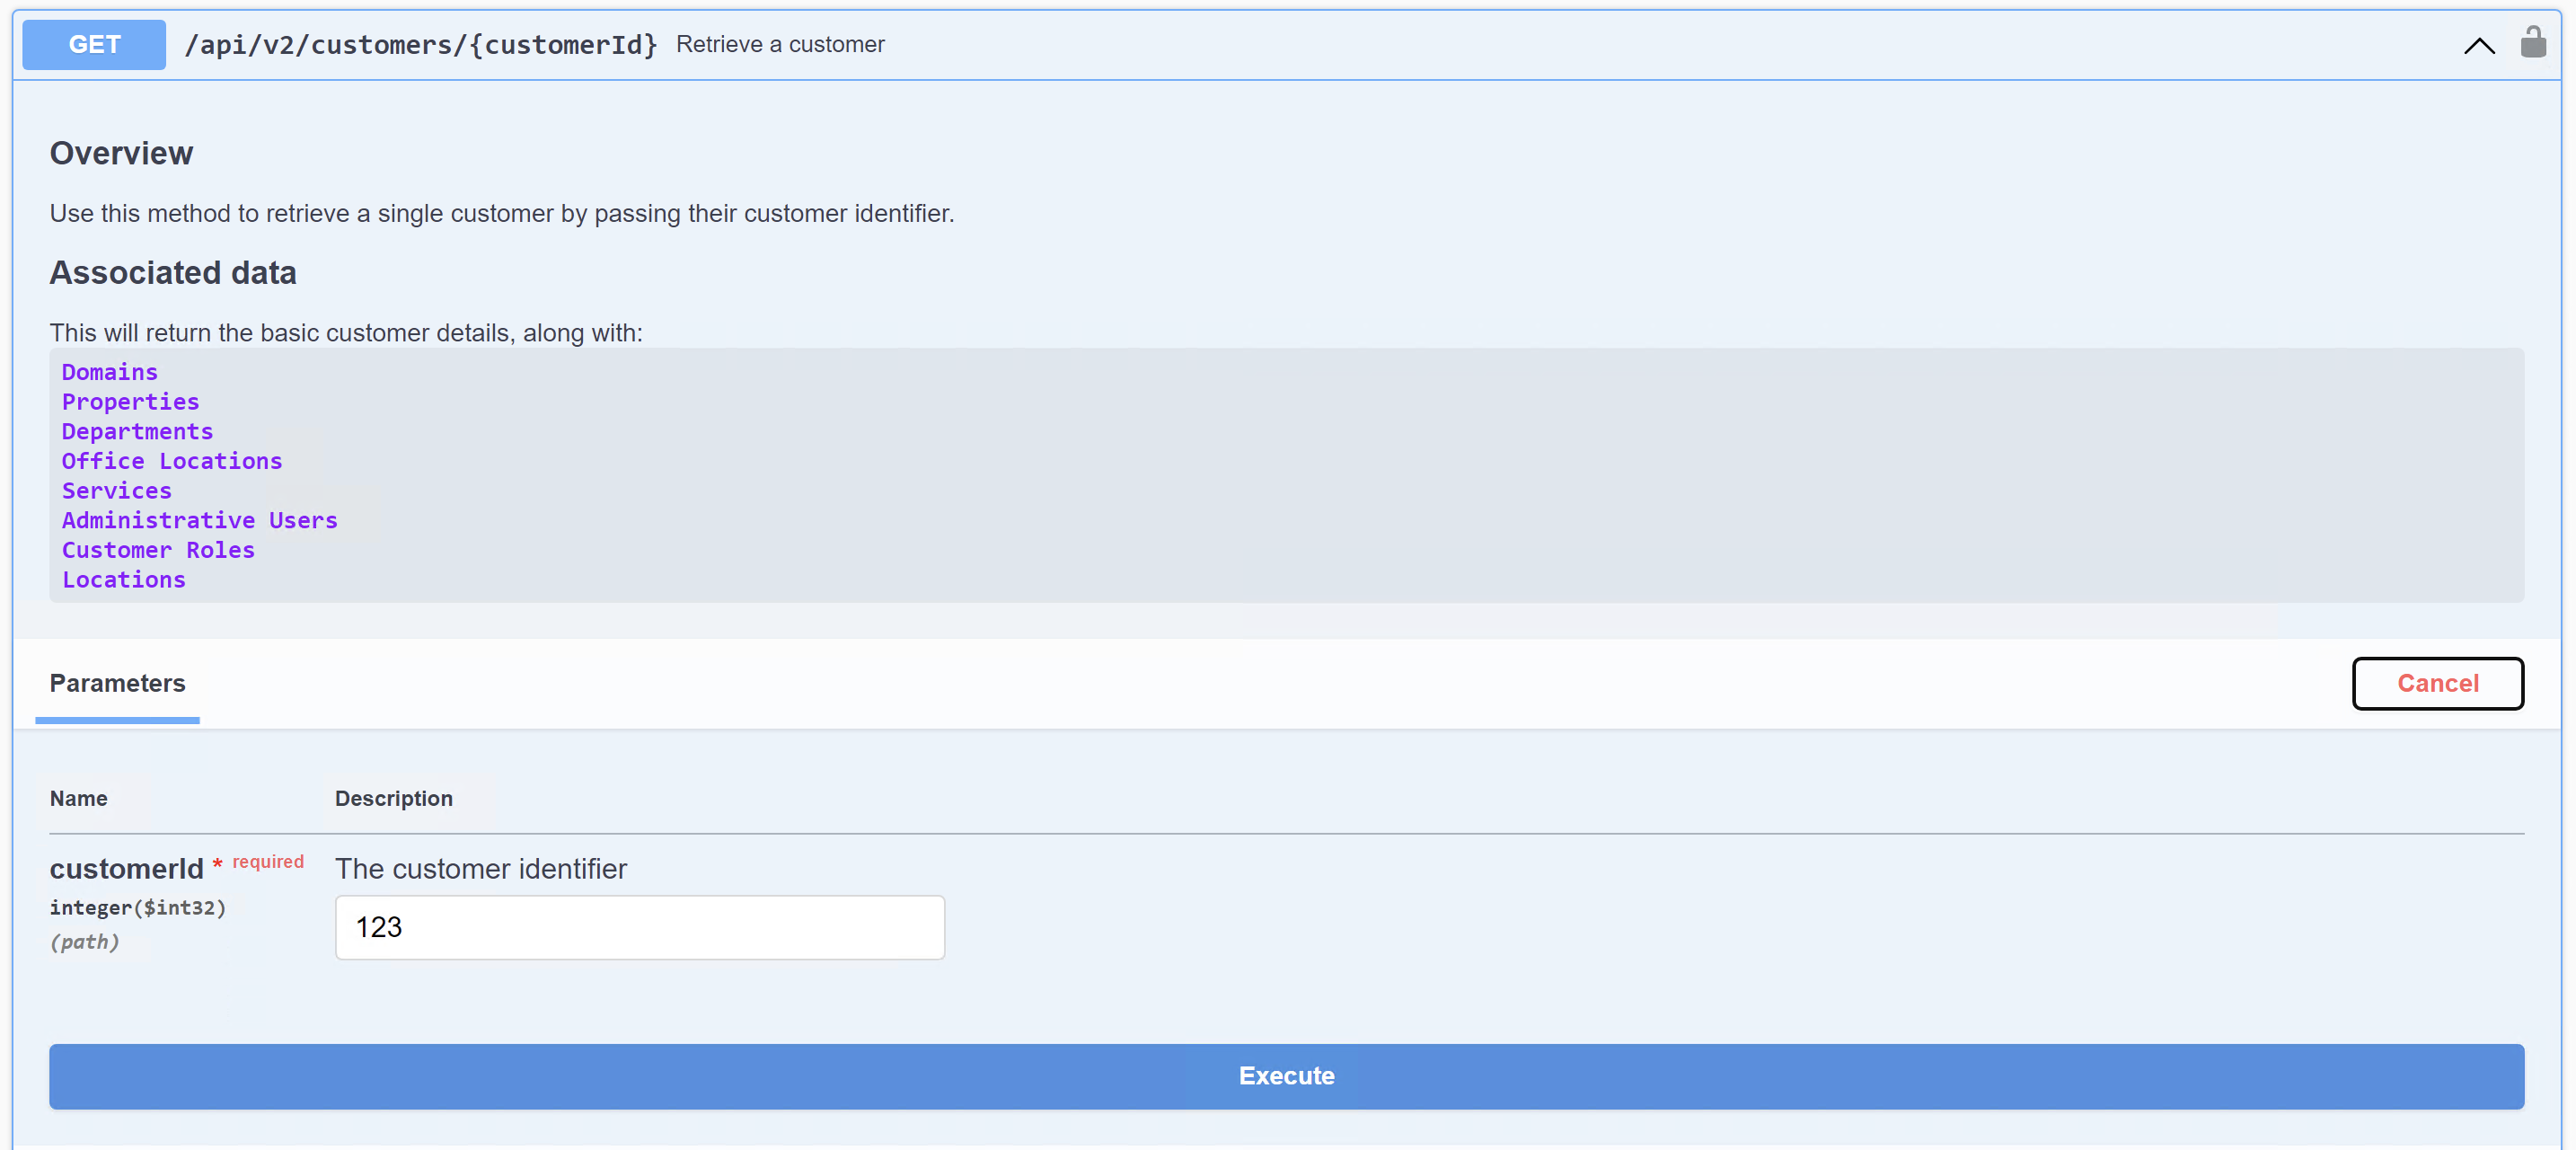
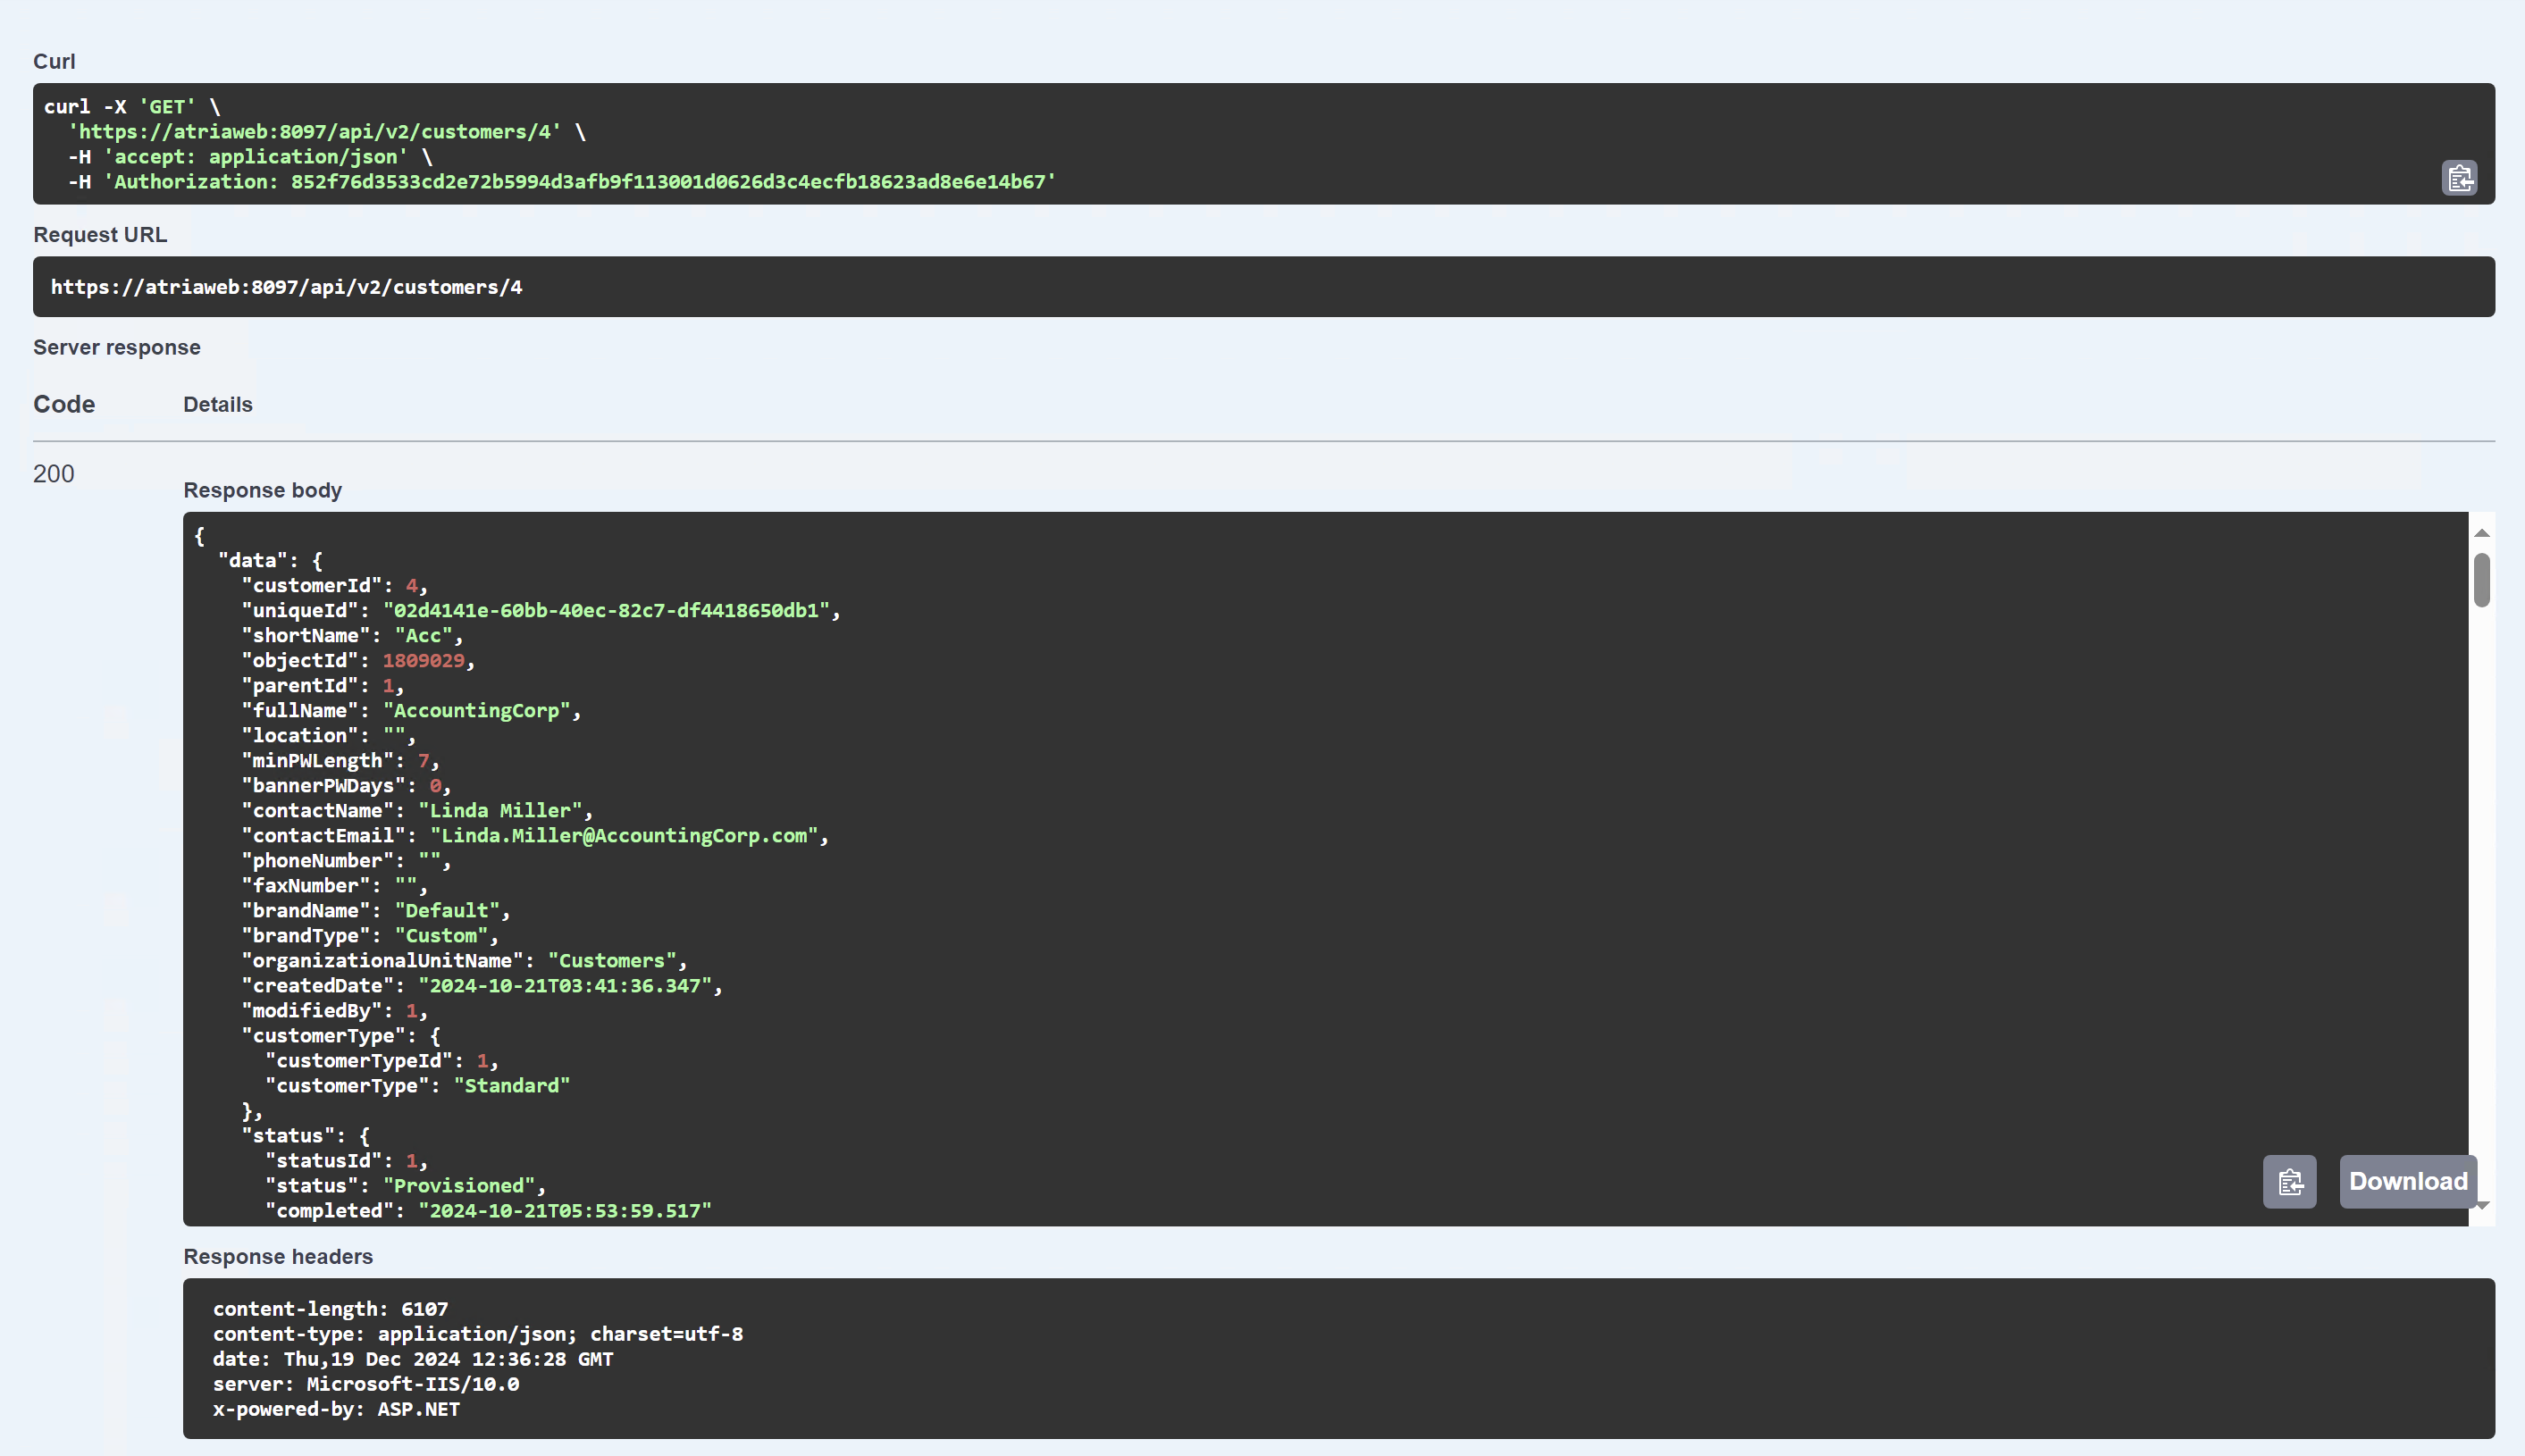
- The following example retrieves the customer with the CustomerID of 4:

- In the responses section, you will see the Curl request, the Request URL, and the Response Body:
API Endpoints
Navigate through the sections below to to see how to use, and view specifications about the various API functions available.
- Billing API EndpointsUse this page to learn how to control billing using Atria's REST API.
- Customer API EndpointsUse this page to learn how to manage Customers using Atria's REST API.
- Get-AtriaRequestRetrieves details about a specific request using the request ID.
- Get-AtriaRequestHierarchyRetrieves the full execution hierarchy associated with a specific request.
- Get-AtriaRequestLogRetrieves the log entries associated with a specific request.
- WorkSpace API EndpointsUse this page to learn how to manage the WorkSpace service using Atria's API using Powershell.