Getting Started with Atria
Overview
Once you have completed the installation of Atria, it's time to start using the platform. Feel free to explore and discover features, follow through this documentation step-by-step, or go straight to configuring your desired environment.
Atria is based around service offerings that are assigned and provisioned to a customer and user hierarchy. This being said, the first step to using Atria, is to create your customers and users. You can chose to create all of your customers and users before deploying a service, or use a single customer and user to test and become familiar with the process.
Most of Atria's features rely on each other, so following through this section logically is a good way to ensure you setup Atria in the correct order and understand the hierarchy.
For more information of Atria's core concepts, navigate to Core Concepts.
The Atria Platform
This section provides a guided overview of the Atria Platform, helping you navigate it effectively using the navigation pane.
If your environment has been setup correctly, you should be able to access the login page by navigating to https://atriaweb/ or use any relevant FQDN that has been bound.
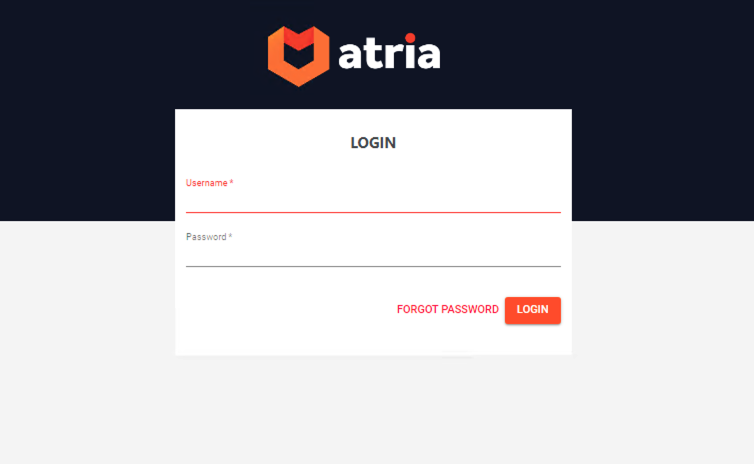
Login with the credentials setup during installation. This will take you into the Atria Platform. Next, we will walk through the functions and capabilities of the platform.
Home
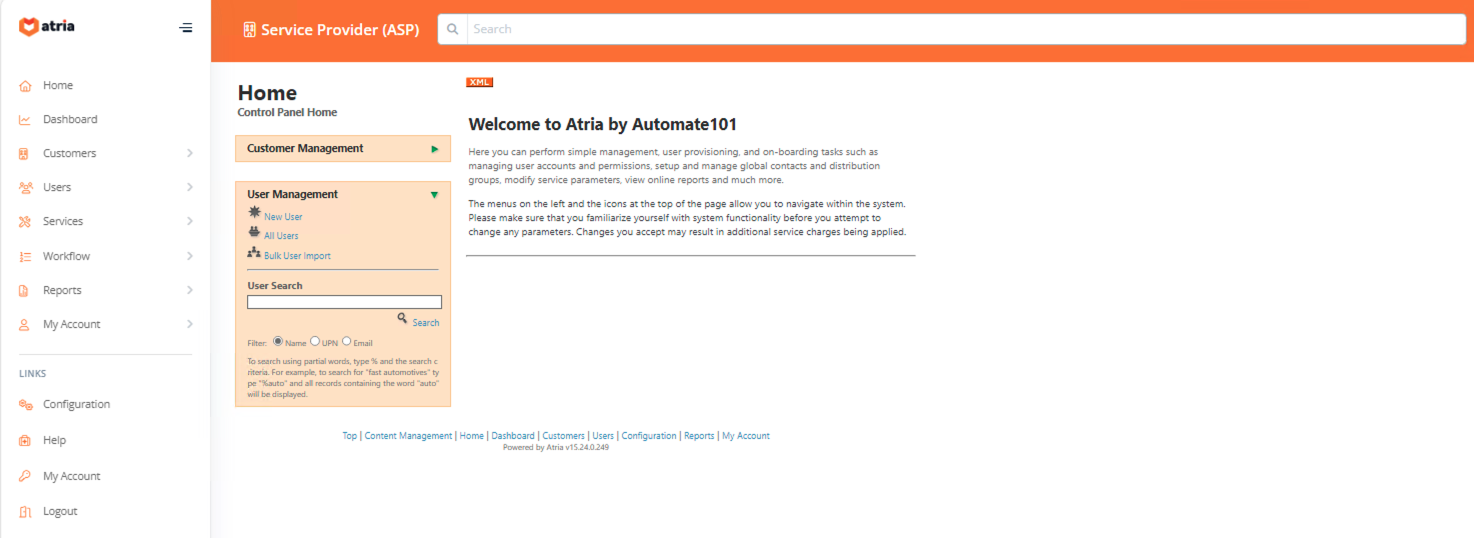
The Home page gives some basic info and navigation options for Atria. You can also see the current running version on this page.
Dashboard
The Dashboard serves as the landing page when logging into Atria. The dashboard can be edited to include different sets of information and display them in different ways. Atria ships with a default dashboard for Service Providers which displays basic information about your environment and customers. The default dashboard for Customers displays information about Microsoft Online subscriptions.

Dashboards are highly customizable and can be configured as needed for business requirements, calling the SQL database for data. Any number of dashboards can be created and assigned to your various customers and resellers. For queries on dashboards, please contact our support at support@getatria.com.
Customers
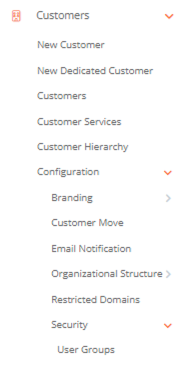
From the Customers menu, you can:
- Create New Customers or Dedicated Customers
- View your Customers
- View your Customer's Services
- View the Customer Hierarchy
- Access further configuration options for Customers
For more information on creating and editing Customers, navigate to Customer Management. This is a great place to start!
Users
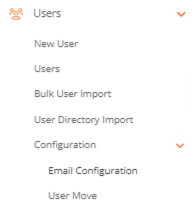
From the Users menu, you can:
- Create New Users
- View your Users
- Import Users for Management
- Configure Email Notifications based on User Events
- Move Users between Customers
User management is very powerful and customizable within Atria. We have created various guides on the setup of Users which can be accessed by navigating to User Management.
Services
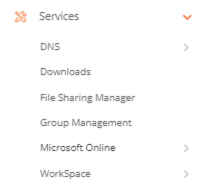
The Services menu will show all available services you have within Atria. This should include all of the services you imported during installation. Take a look through to see the capabilities of each service. Some of the services such as Microsoft Online and Workspace are very in-depth so have specific guides to understand them. These can be found by navigating to Service Guides.
Workflow
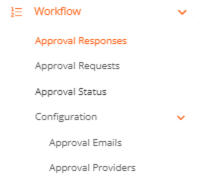
The Workflow feature allows you to setup custom approval systems within Atria. Through the configuration, you can setup approval emails and events triggered by different Atria events.
For more information on Atria Workflows, please contact support@getatria.com.
Reports
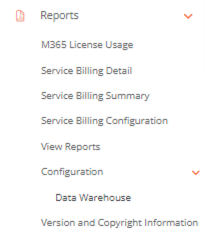
The Reports section contains various service and billing reports used to track the history of changes made in Atria. You can create your own reporting views in the configuration section.
For more information or for any assistance with Reports, please contact support@getatria.com.
My Account
There are a few ways to access information about your account within Atria. The drop-down on the left hand pane will show information about the currently logged in account in the Users interface. The My Account buttons under Links and your profile in the top right will take you to the Manage My Account page shown below.

Within this page you can change your password and recovery email, generate API tokens, and setup multi-factor authentication.
Configuration
The Configuration section within Atria contains many systems used to setup services, create service plans, control security roles, and more. This section will be used many times when configuring your Atria environment.
A feature to note is the the Provisioning & Debug Tools. These allow you to view recorded errors, show provisioning logs, bulk re-provision, and access the Jobs system. This can be helpful in troubleshooting errors and gaining more information about an issue you may have.

Help
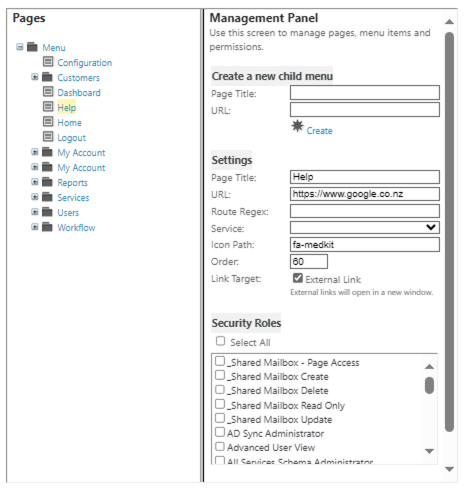
The Help button in Atria is used to link to your service desk, allowing your customers to contact you when they are in need of help. By default it links to Google.
To change this connection:
- Navigate to Configuration.
- Open the Page Manager under Security.
- Change the Page Type to Menu.
- Enter your desired URL in Settings under Help:
- Scroll down and hit Save to save your changes.
Title Bar
The title bar at the top of the page has a few functions.

- First you will notice the customer selection. This shows you which Customer you are viewing/ editing when using the Users, Services, and Configuration menus.
- The search bar can be used to quickly navigate to any Customer or User within the platform.
- The What's New button shows you Atria's roadmap and allows you to make suggestions for features.
- the User icon in the top right displays which user is currently logged in, and allows that user to access the My Account page or Logout.
Summary
Now that you have learned how to navigate the Atria Platform, it's time to start creating your environment. The first step to this is creating your customers.