AD Sync Service Deployment
Overview
This article provides the step-by-step procedure for installing the AD Sync Service.
Before proceeding, ensure you have read the ADSync Tool Usage Guidelines thoroughly.
Prerequisites
-
Create a customer in Atria to represent the customer you are syncing.
-
Ensure the
web.configfile for CortexDotNet is correctly configured using the below info:
Path:C:\inetpub\Cortex Management\CortexDotNet
Ensure UserSyncAPIServer is pointing to the correct URL within the cortexweb site.
Example: http://cortexweb.automate101.com/
The URL must be accessible from the end-user's network.
If SSL is used on the cortexweb site, make sure UserSyncAPISSL is set to TRUE.
Installation Steps
- On your Provisioning server, run the following command to import the AD Sync service schema:
Import-AtriaServiceSchema -Service ADSync
-
Enable the service at the top level:
- From the Atria menu bar, navigate to Configuration > System Manager > Service Deployment, then expand AD Sync.
- Click Save.
-
Enable the service at the location level:
- Under Service Filter, select Active Directory Location Services and choose the Location you wish to deploy the service to.
- Expand AD Sync.
- Click Save.
-
Provision the AD Sync service to the customer.
-
Create a user account under the customer with the AD Sync Administrator role:
- Password should be set to never expire

-
On the customer’s Domain Controller, navigate to the your Atria portal.
-
Log in as the AD Sync Administrator.
-
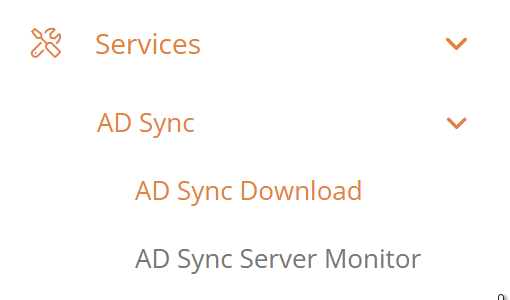
Navigate to:
Services > AD Sync > AD Sync Download
-
Download the AD Sync Installer.
Alternatively, the service provider can download the installer and share it with the end-user.
-
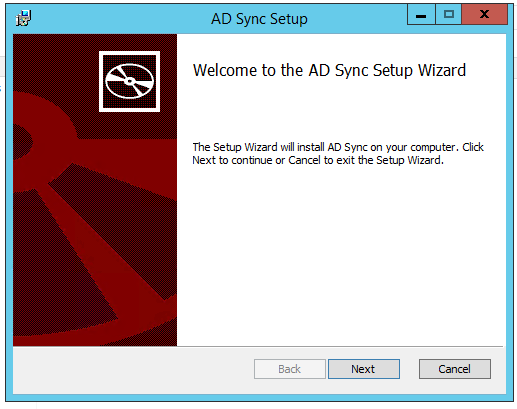
Run the AD Sync installer:
Installer
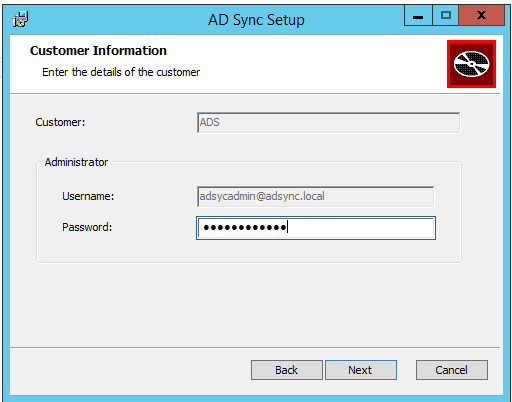
- Enter the account password.
Enter the account
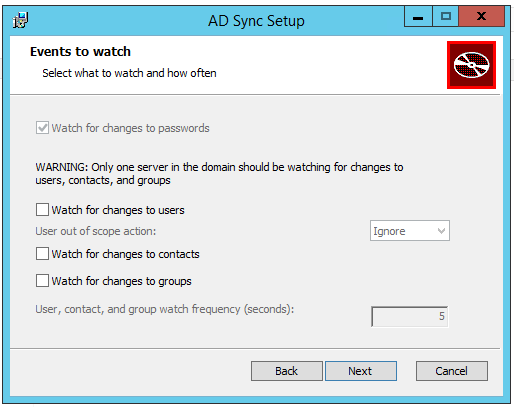
- Select the events to monitor (Users, Contacts, Groups) depending on your sync requirements.
Events to watch
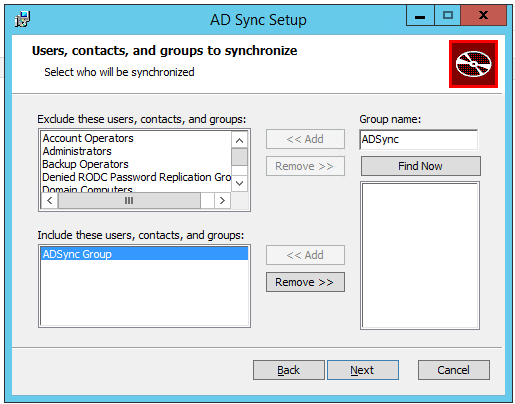
- Modify the sync scope:
- Remove the default "Users" group
- Add only the specific users, groups, or contacts that should be synchronized
Sync Scope
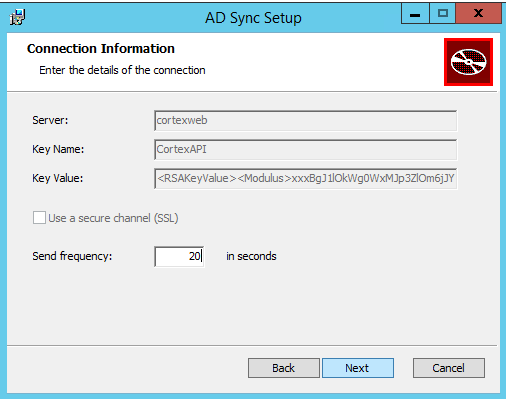
- The Connection Information should auto-fill from the web.config.
If connection fails, revisit your configuration.
Connection Information
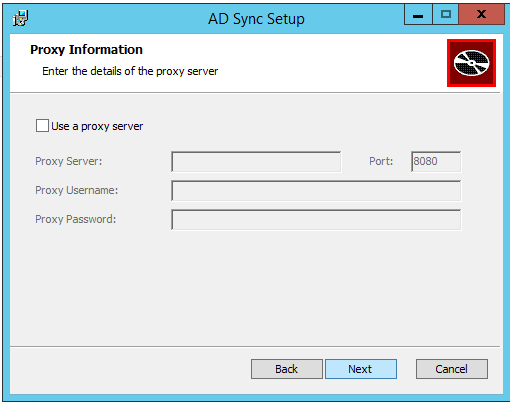
- (Optional) Configure a Proxy Server, if required.
Proxy Server
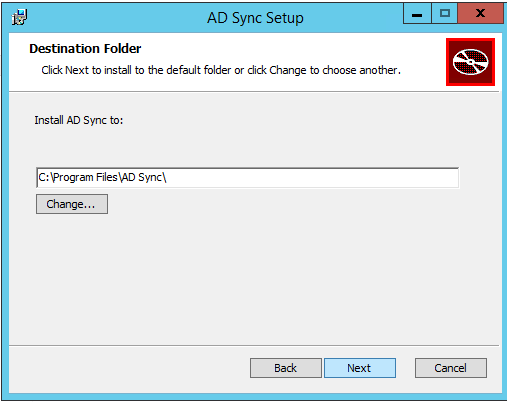
- Choose the installation destination folder.
Installation Destination Folder
- Proceed with the installation.
Installation
- Installation complete.
Complete
- Restart the server.
Restart
Testing and Verification
- Confirm that the AD Sync Service is running under
services.msc.
services.msc

- Create a test user in Active Directory and add it to one of the synced groups.
- Verify that the new user appears in Atria.
Configuration
For further configuration options, refer to the following:
These resources will help you manage and optimize your AD Sync Service setup.
If you experience any issues or require any assistance with this process, please contact us at support@getatria.com.