Atria Quick Reference Guide
Overview
The purpose of this page is to provide quick guides to the basics of using the Atria Platform. It is aimed towards customers who are new to Atria and want to find out how to carry out specific tasks such as creating a customer, or assigning a service to a user.
Some of the guides on this page require prerequisite setup (customers already created, services deployed etc.). They are here for users new to atria (such as new service desk staff), who need to know how to manage customers and users, but do not need to know how to deploy services, or advanced configuration.
The prerequisite information can be found throughout our docs in the Core Concepts, Additional Platform Features, Installation, and Service Guides sections. These will be referenced throughout. If you need any additional information or assistance, you can contact us at support@getatria.com.
Atria Basics
The following guides will show you how to navigate and complete basic tasks within Atria.
How to Access the Atria Platform
- Open the Atria Login Page
- Navigate to https://atriaweb/ or your assigned Fully Qualified Domain Name (FQDN).
- If you are unsure of this, please contact your Service Provider.
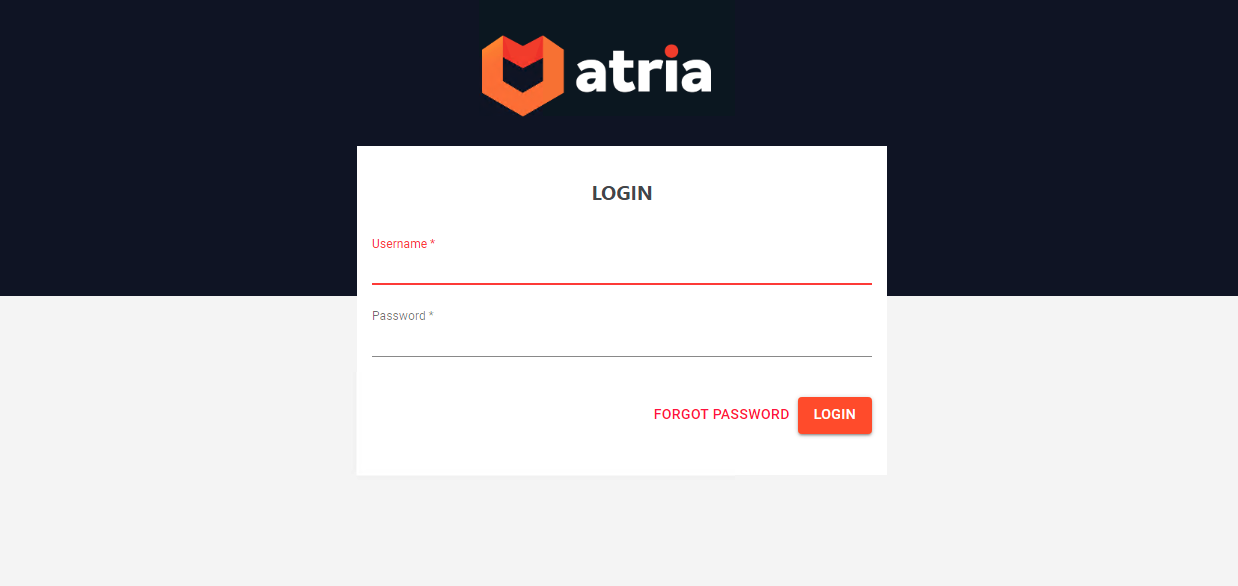
- Log In
- Enter the Username and Password provided by your administrator.
- Click Login to access the Atria Platform.
A walkthrough of the Atria platform can be found here.
How to Create a Customer
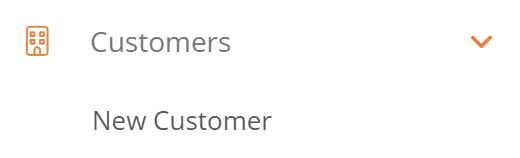
- Access the Customer Creation Page
- From the left-hand menu, go to Customers > New Customer.
- Fill in Customer Details
- Full Name: Enter the company name.
- Code: A unique identifier (auto-generated or manually entered).
- Contact Name: Enter the primary contact person.
- Email Address: Provide a valid contact email.
- Customer Type: Select Standard, Test, or Demo.
- Domain Name: Enter the company’s primary domain (e.g.,
example.com) and click Update. - Additional Options (Optional): Enter further details such as phone number, and address.
- Advanced Properties (Optional): Configure further options such as security roles and branding.
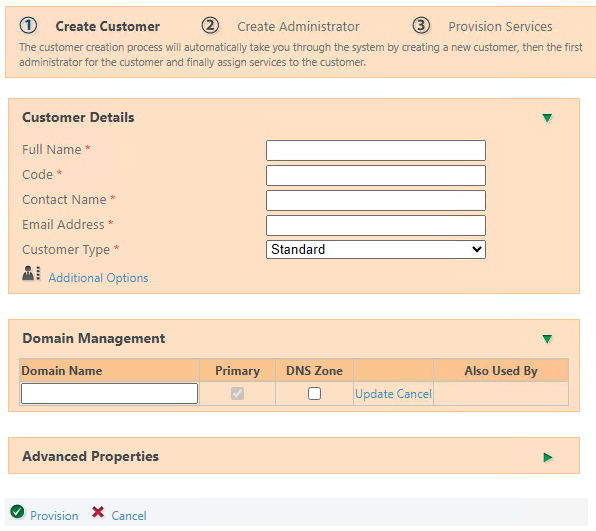
- Provision the Customer
- Click Provision to create the customer.
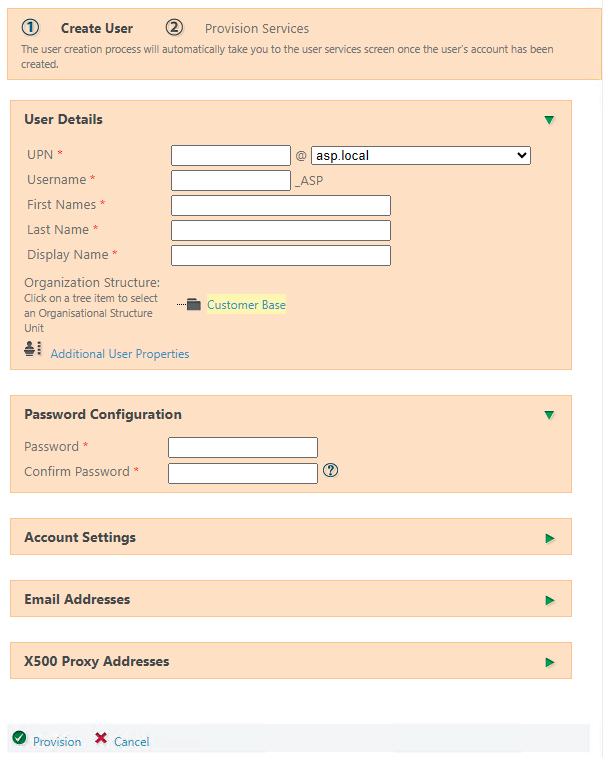
- Create the First Administrator
- UPN (User Principal Name): Enter the unique email-like username.
- Username: Auto-generated based on the UPN.
- First & Last Name: Enter the user’s full name.
- Display Name: How the user appears within Atria.
- Password: Create a strong, secure password.
- Advanced User Properties (Optional): Enter further details such as phone number, and address.
- Account Settings (Optional): Configure further details such as account disabled and expiry.
- Email Addresses (Optional): Leave this section blank to generate an email for the user.
- Click Provision to create the Administrator.
- Provision Services
- Use this screen to provision any services you want the customer to have. This can be done at a later stage.
- Click on the green arrow next to the desired service.
- Configure the service to your needs.
- Click Provision to provision the service to the customer.
A full overview of customer management and more in-depth guide can be found here.
How to Create a User
- Open the User Creation Page
- Navigate to Users > New User. Ensure the correct customer is selected.

- Enter User Information
- UPN (User Principal Name): Enter the unique email-like username.
- Username: Auto-generated based on the UPN.
- First & Last Name: Enter the user’s full name.
- Display Name: How the user appears within Atria.
- Password: Create a strong, secure password.
- Account Settings (Optional)
- Change Password at Logon: Enable if needed.
- Account Expiry: Set an expiration date if required.
- Save and Provision
- Click Provision to create the user.
- Assign any required services and finalize the user setup.
A full overview of user management and more in-depth guide can be found here.
How to Create an Administrator
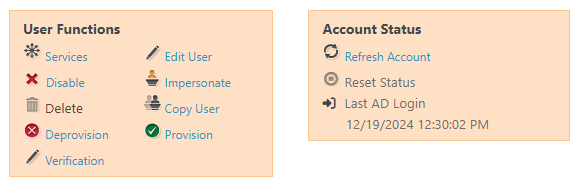
- Navigate to the Edit User Menu
- This can be done during the creation of a User.
- Or, navigate to Users > Users, select your user, and click Edit User.
- Navigate to Security Roles
- Click on Account Settings and expand Advanced Options.
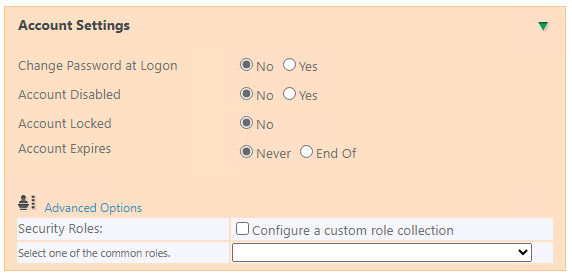
- Select a Security Role
- Select a security role from the dropdown or tick Configure a custom role collection to select multiple roles.
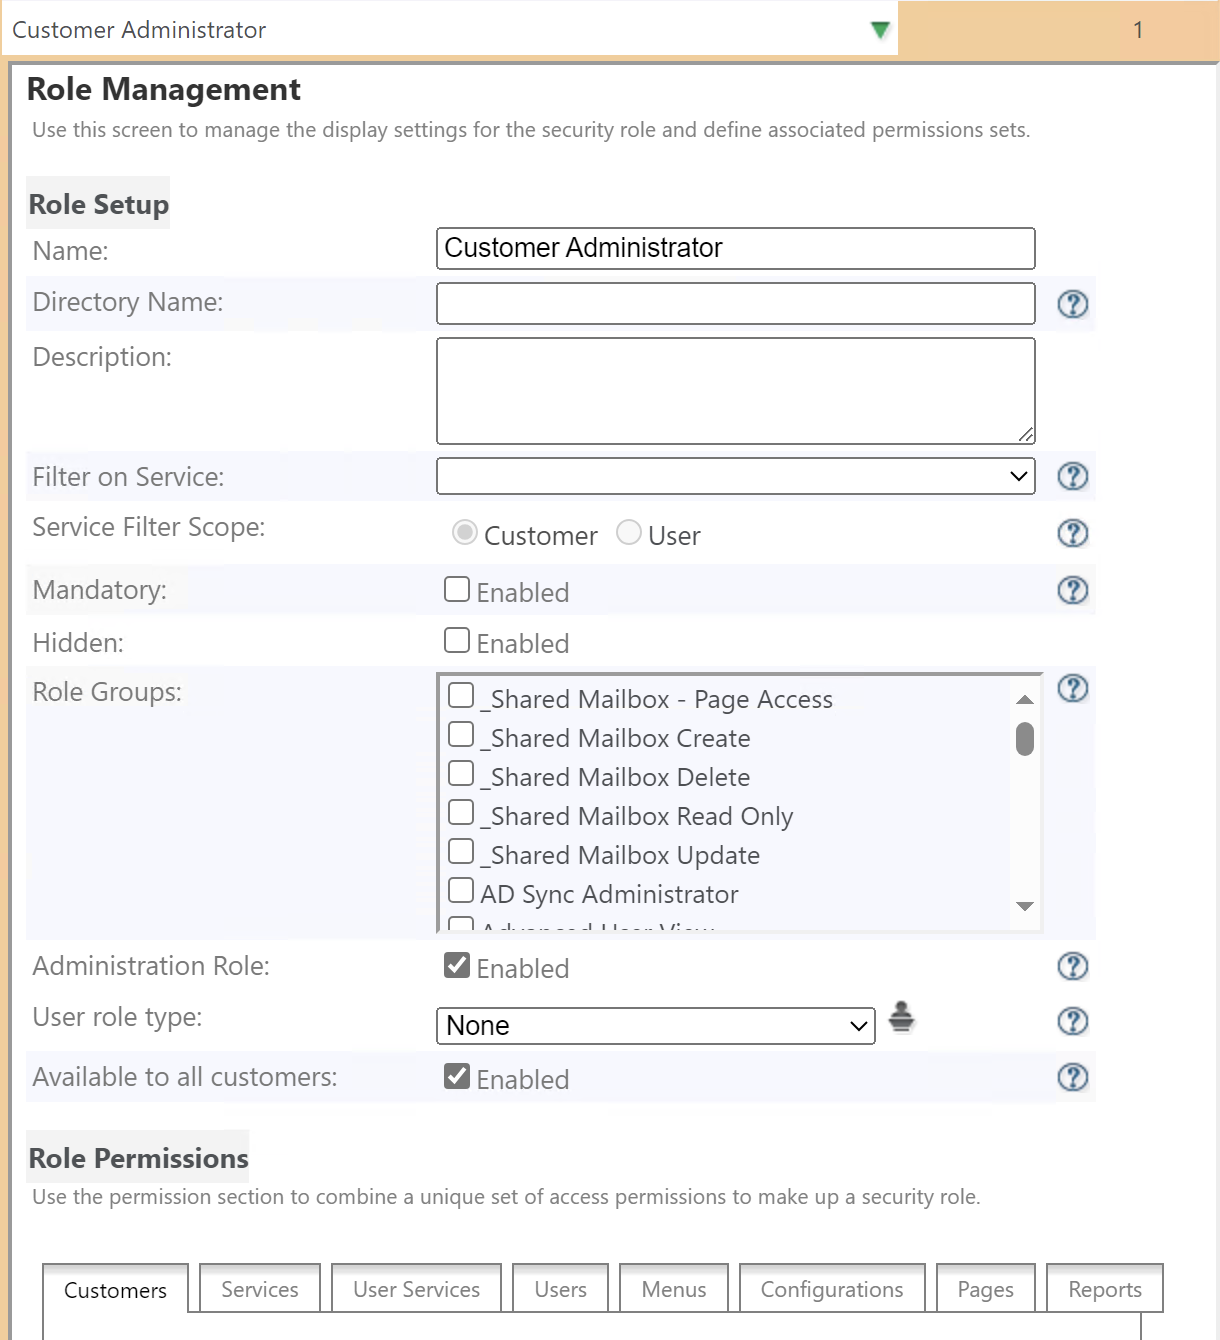
- To view and change the permissions attached to a role, navigate to Configuration > Security Roles
- This displays a list of all roles along with their permissions and configuration.
- Save and Provision
- Click Provision to save the changes and re-provision the user.
Information on Atria's security roles and permissions system can be found here.
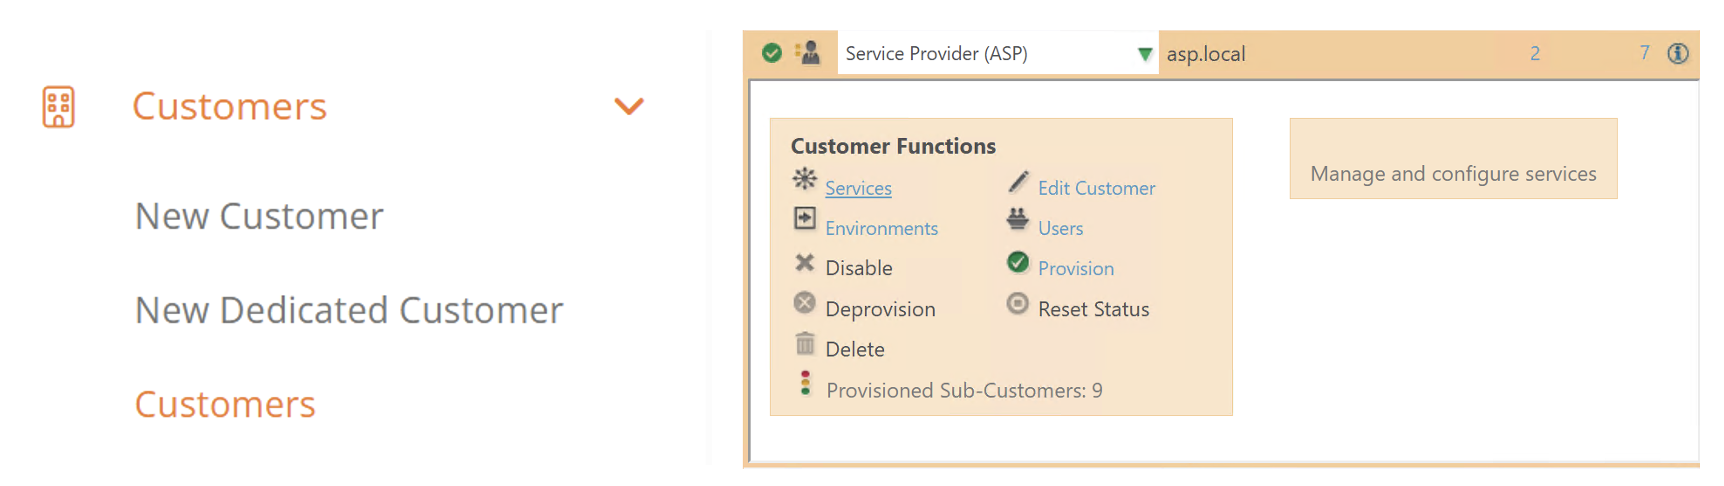
How to Assign a Service to a Customer
- Ensure the Service is Provisioned to the Reseller
- Navigate to Customers > Customers.
- Expand the parent of the desired customer.
- Click on Services.
- The desired service should have a green provisioning status:

- Locate the Desired Service
- Navigate to Customers > Customers.
- Expand the desired customer.
- Click on Services.
- Expand the desired service:
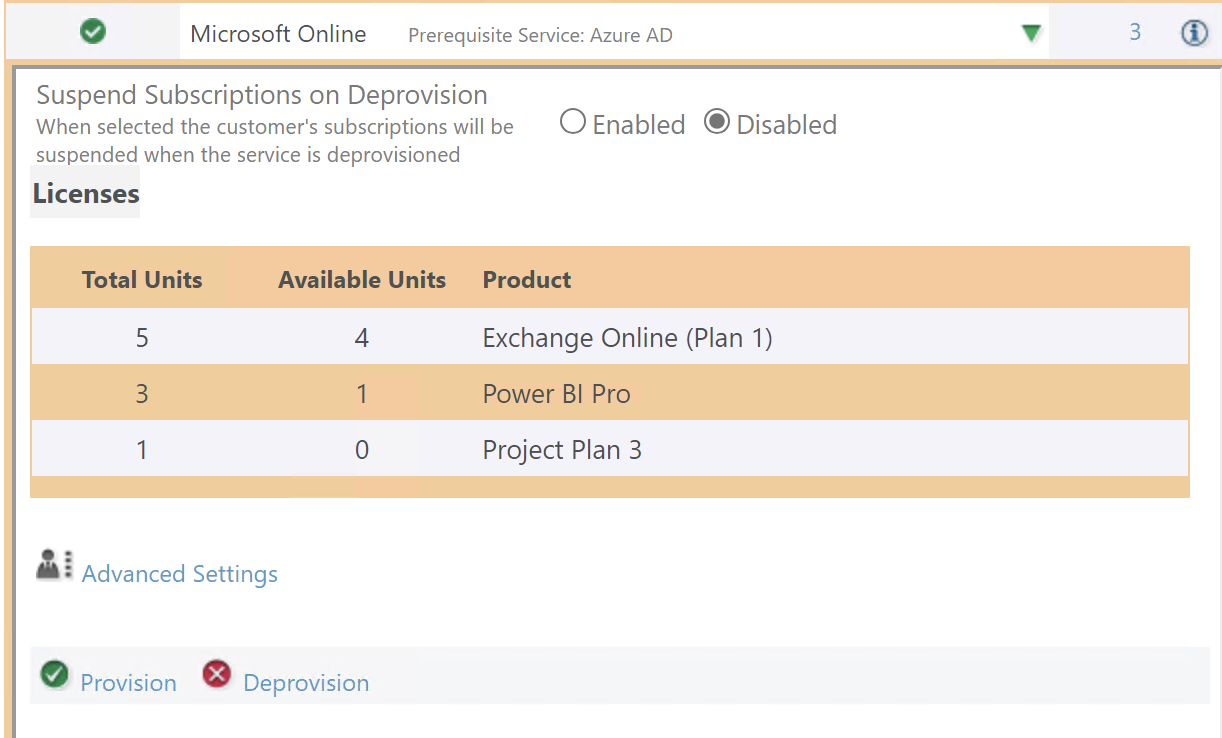
- This menu will give you configuration options for the service. For example, the Microsoft Online service displays the amount of available licenses. For further information on service specific configuration, navigate to Service Guides.
- Provision the Service
- Configure the service as required.
- Click Provision so save and provision the service to the customer.
- Provisioning is complete when the status turns green.
To understand what an Atria Service actually is, see here. For specific setup and feature guides for our various services, see here.
How to Assign a Service to a User
- Ensure the service is provisioned to the Customer
- Navigate to Customers > Customers.
- Expand the Customer of the desired user.
- Click on Services.
- The desired service should have a green provisioning status:
- Navigate to User Services
- Ensure the correct customer is in scope by completing step 1.
- Navigate to Users > Users.
- Find and expand the desired user.
- Click on Services.
- Expand the desired service:
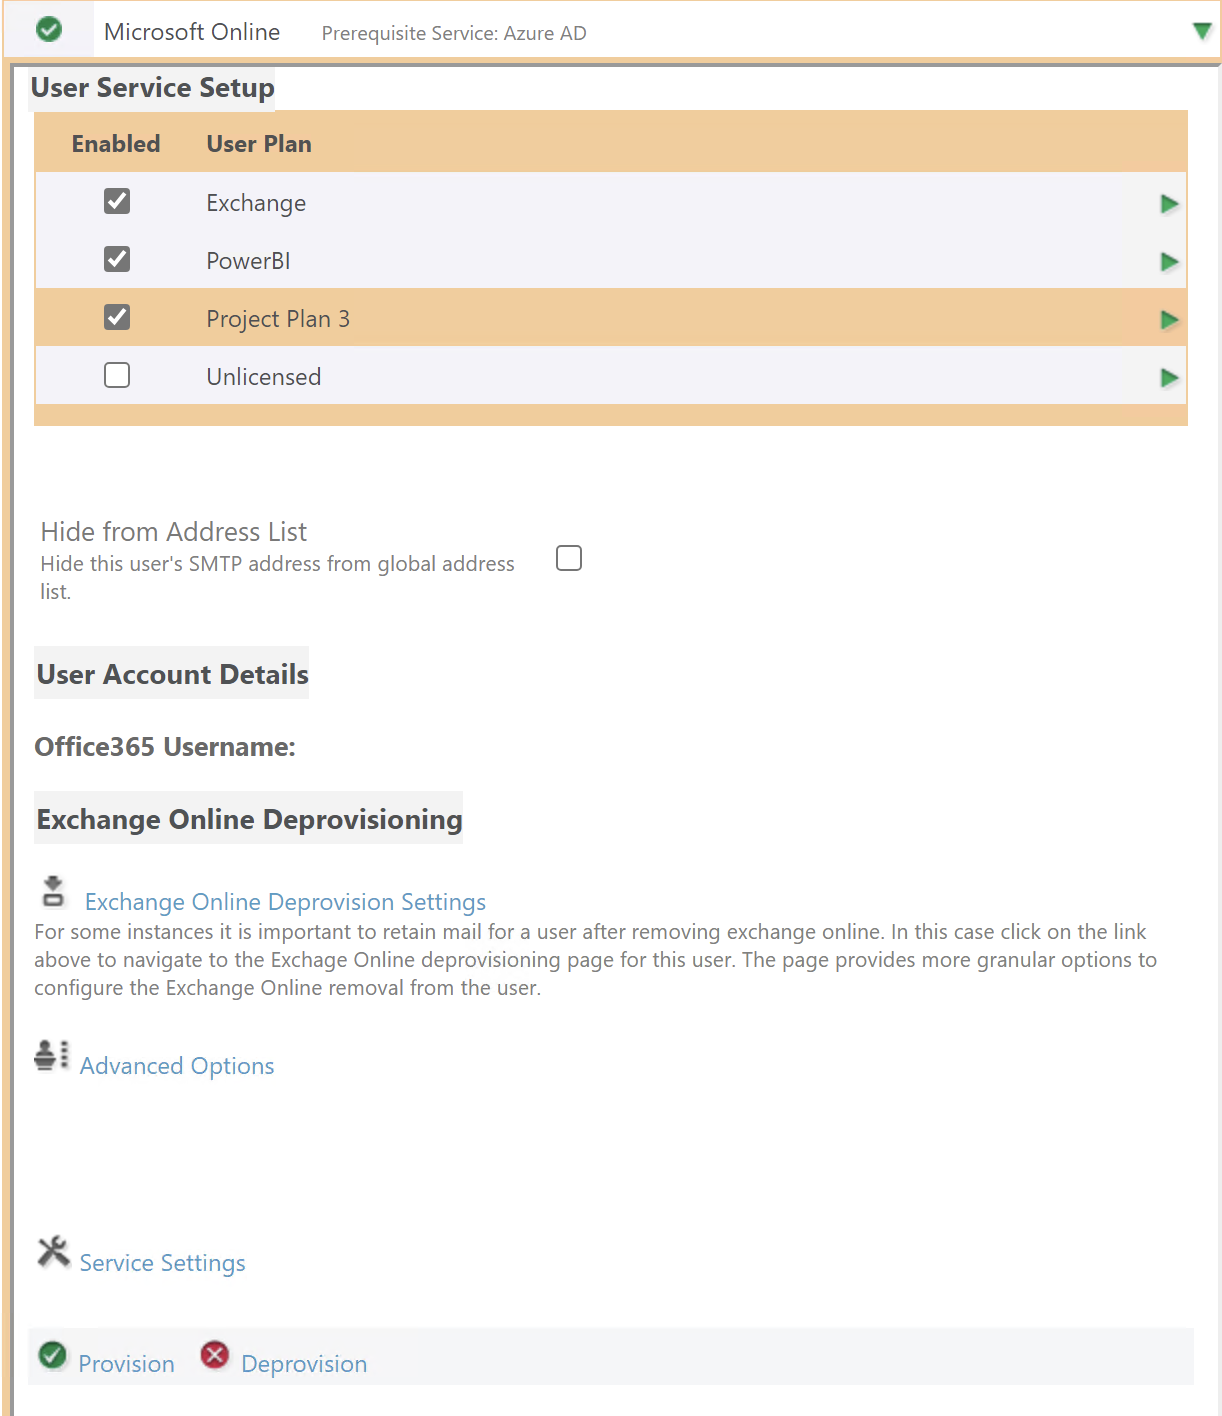
- This menu will give you configuration options for the service. For example, the Microsoft Online service allows you to assign User Plans with Microsoft licenses attached. For further information on service specific configuration, navigate to Service Guides.
- Provision the Service
- Configure the service as required.
- Click Provision so save and provision the service to the user.
- Provisioning is complete when the status turns green.
To understand what an Atria Service actually is, see here. For specific setup and feature guides for our various services, see here.
Workspace
If you are new to Workspace, we recommend reading the full guide here. You can use the below guides in following order to remind yourself of the process, or hand to administrators who need to use the service.
How to Create a Workspace ItemType
The first step in deploying Workspace to a user, is to create an ItemType.
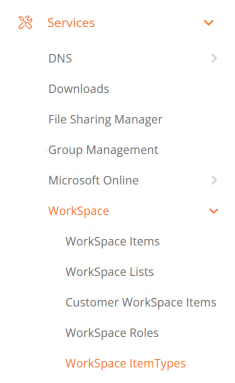
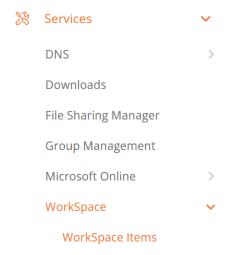
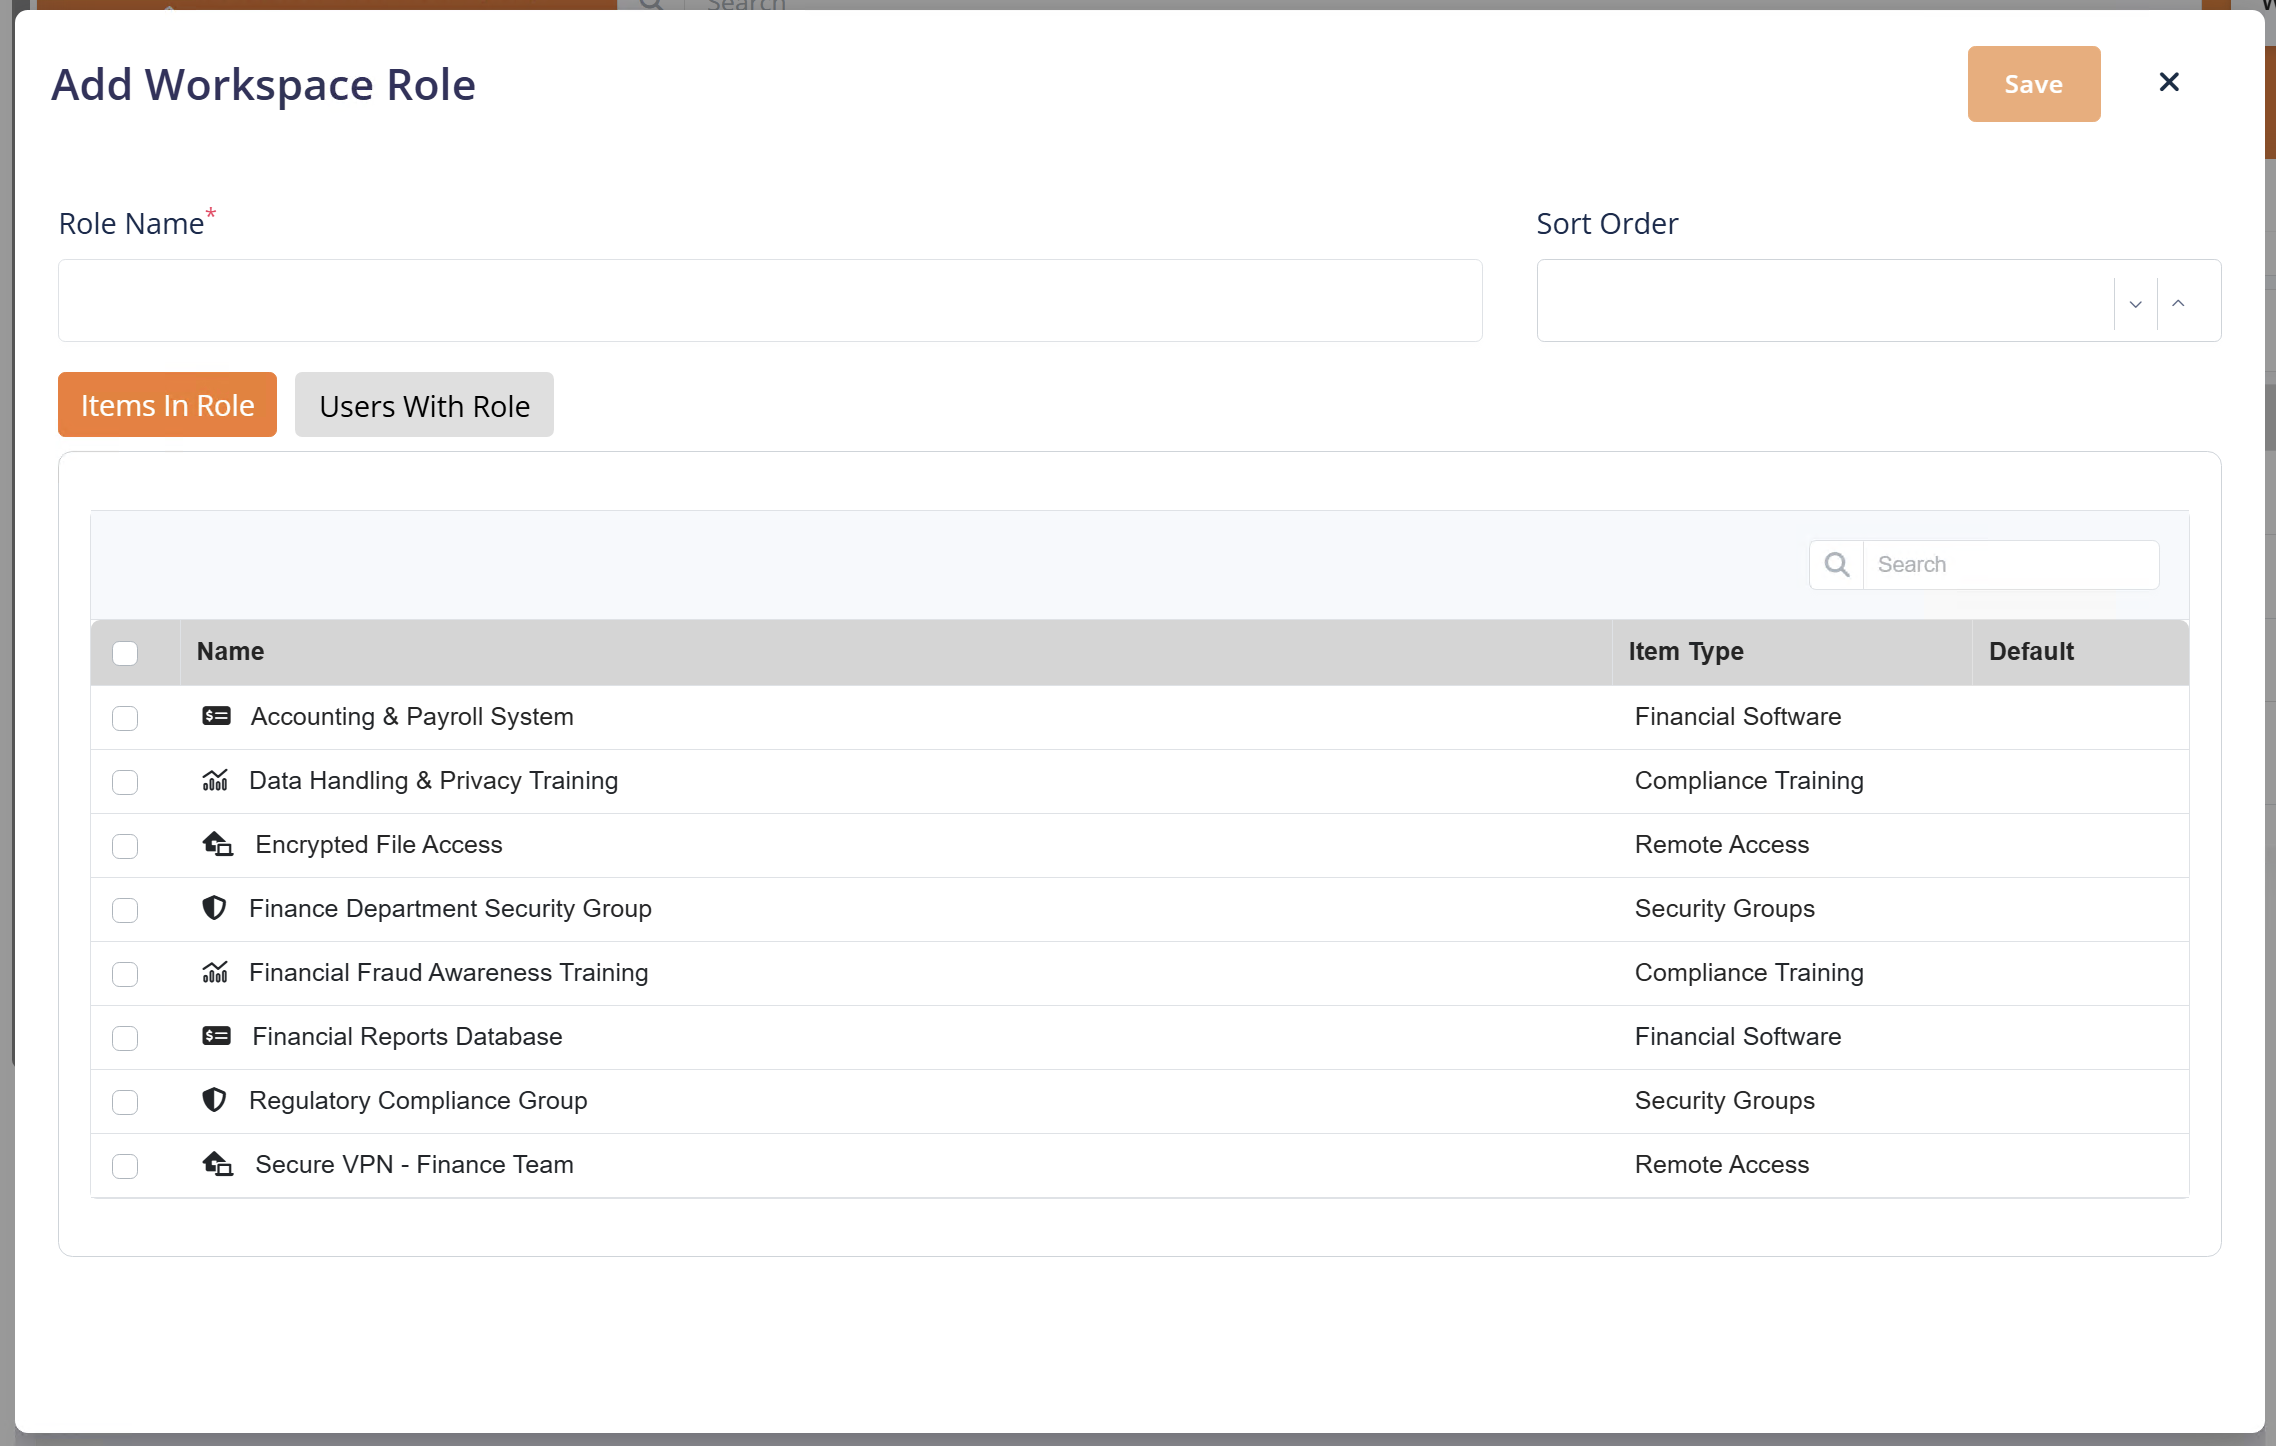
- Navigate to
Services > Workspace > Workspace ItemTypeson the left hand pane:
- Click + Add to open the creation window:
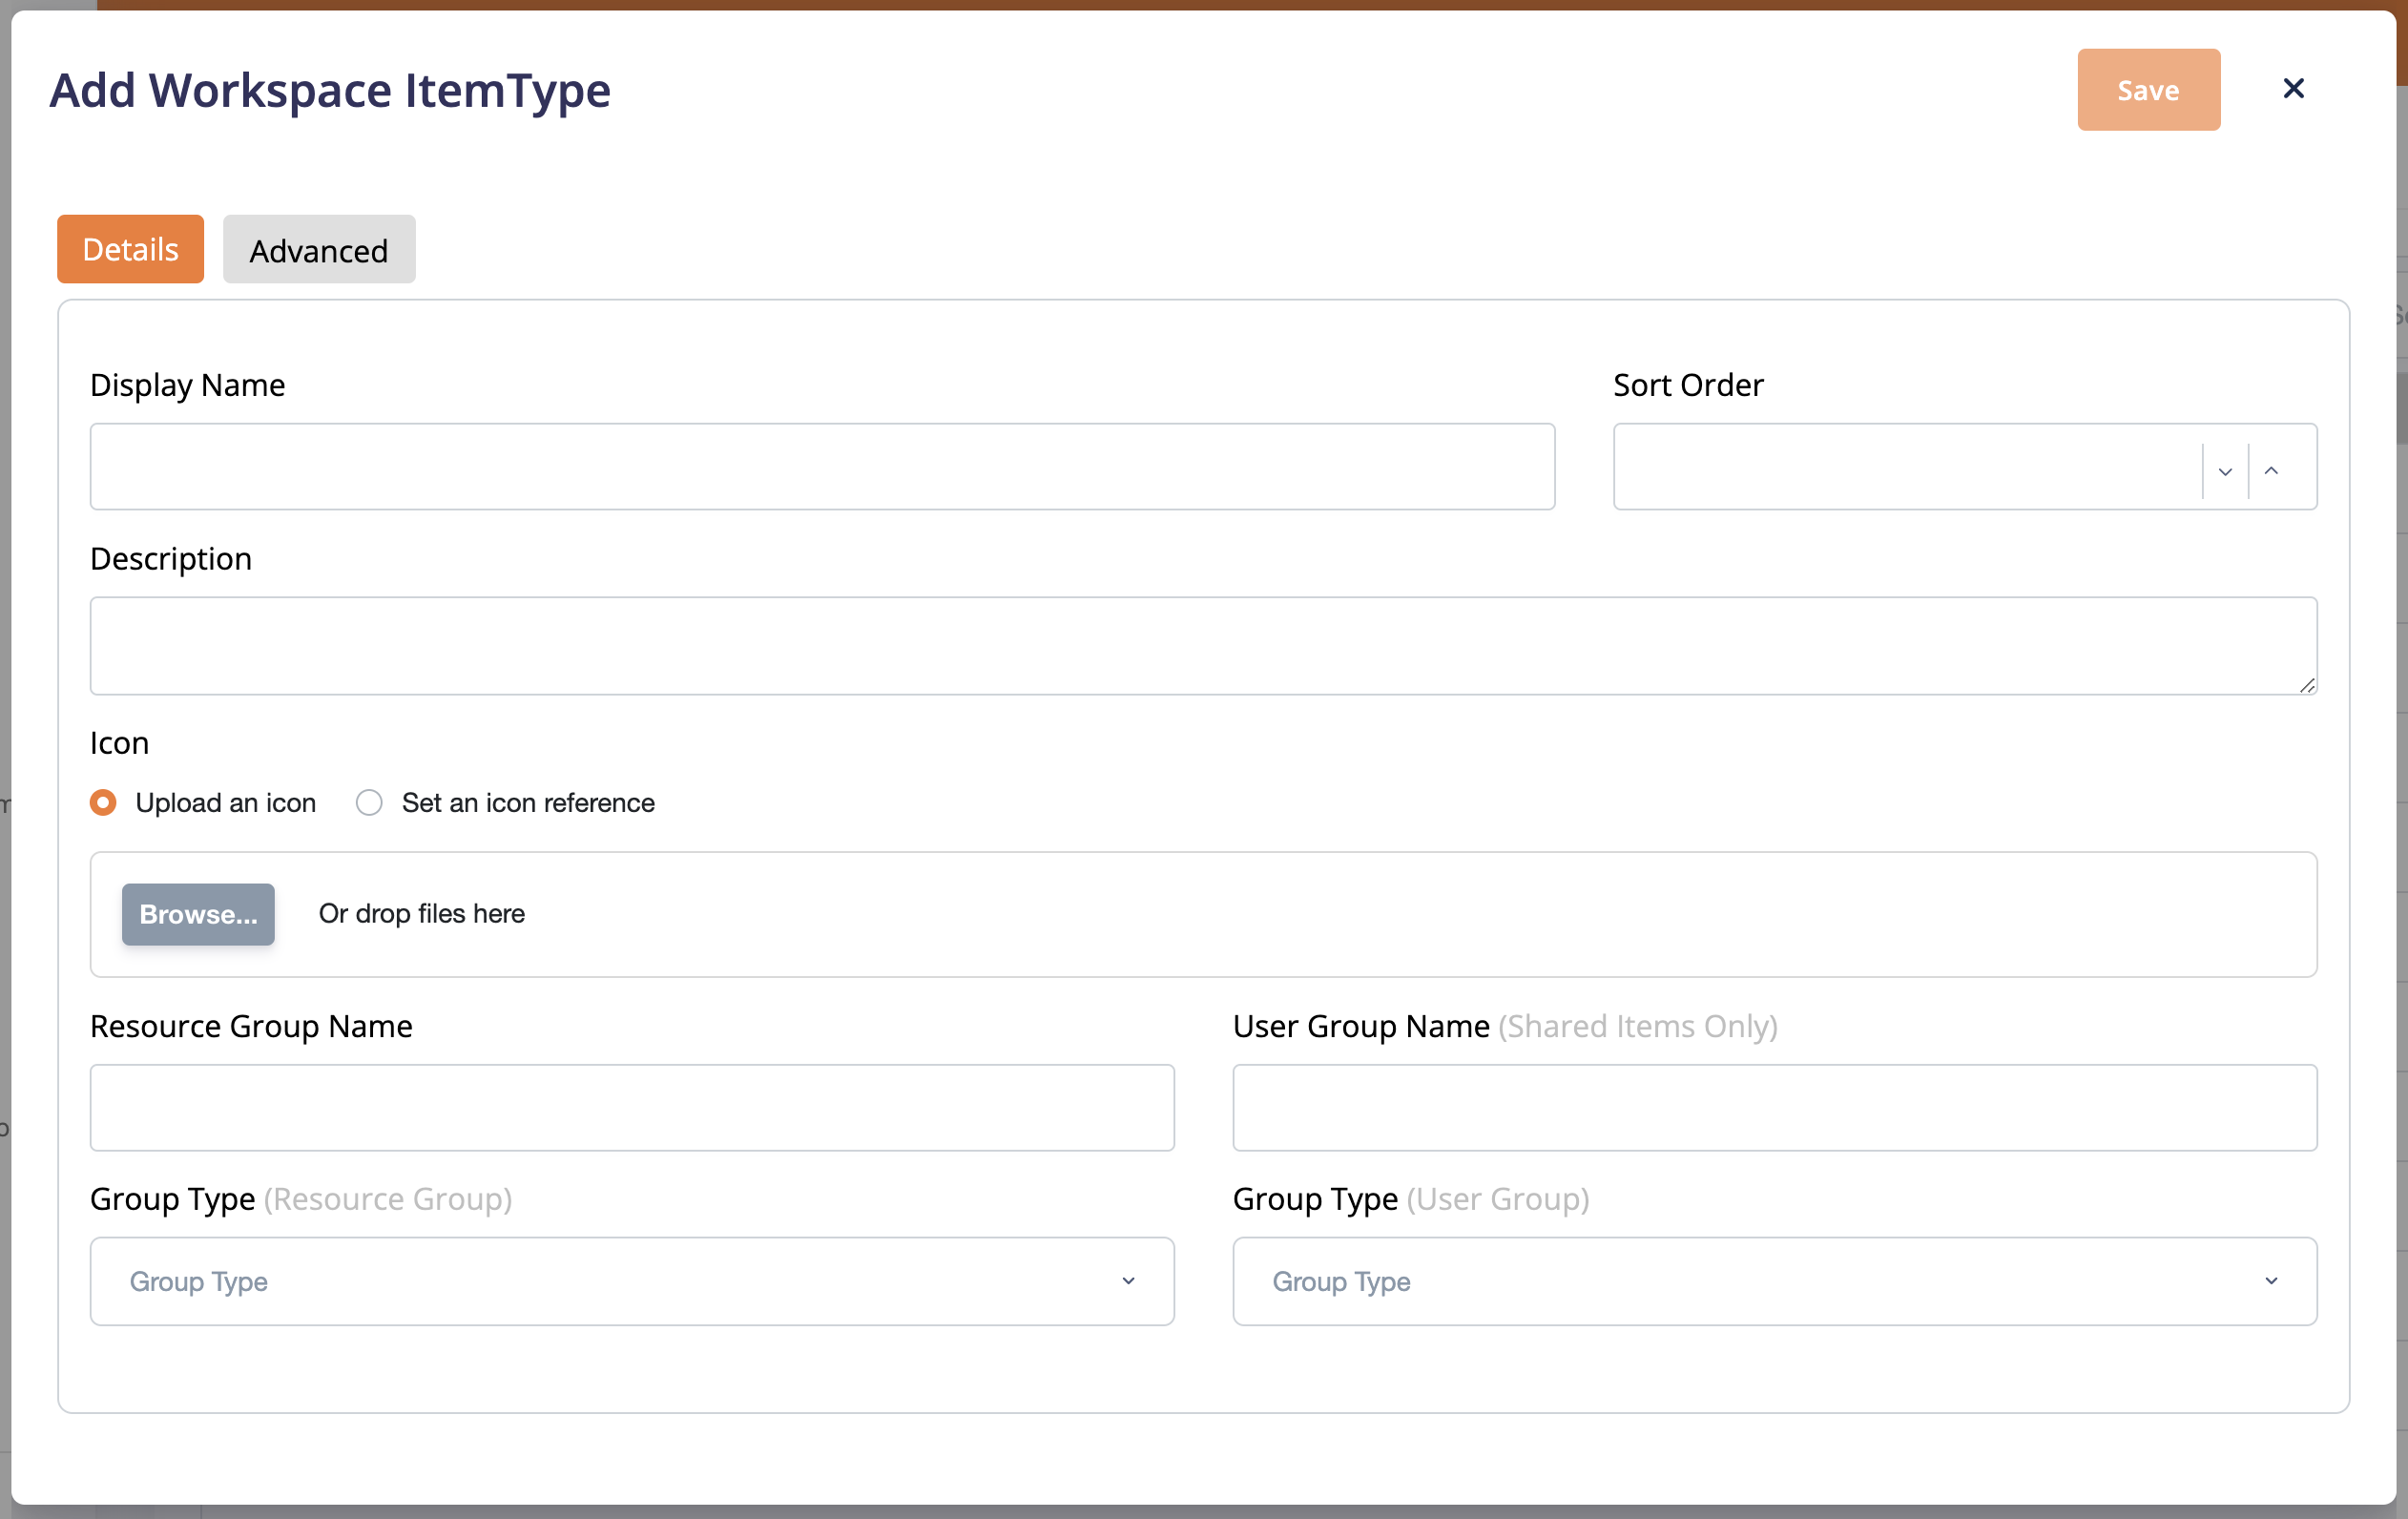
- Fill in the fields with the desired values.
- Display Name: Friendly name for the ItemType
- Description: Description of the ItemType
- Sort Order: Determines where the ItemType displays in the list of ItemTypes
- Icon: Upload an image or chose an icon to be associated with your ItemType.
- Resource Group Name: AD Resource group name that Workspace Items of this type will inherit
- User Group Name: AD User group name that Workspace Items of this type will inherit (Shared Items only)
- Group Type (Resource): Specify the AD Group Type for the Resource group
- Group Type (User): Specify the AD Group Type for the User group (Shared Items only)
- Click Save to create the group
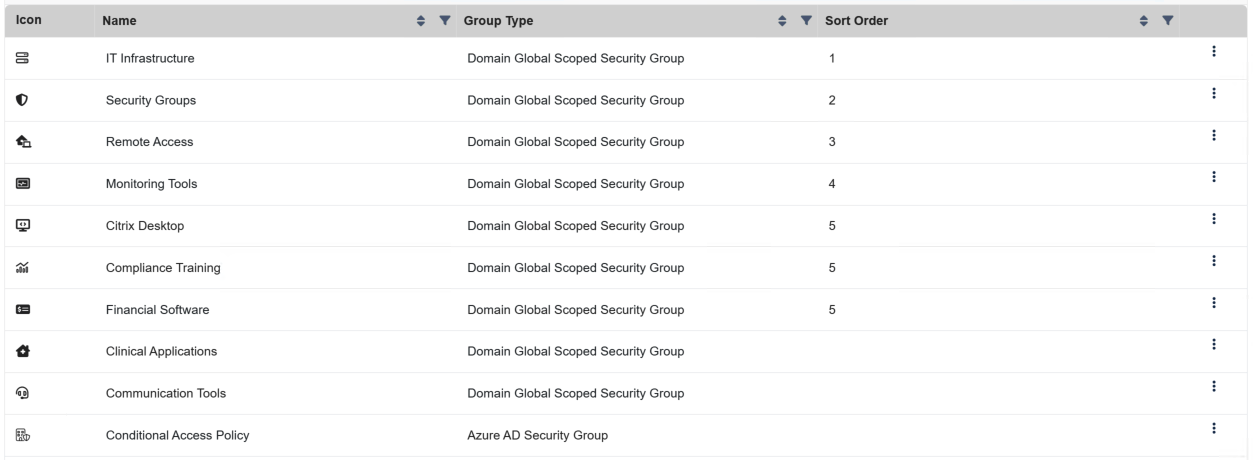
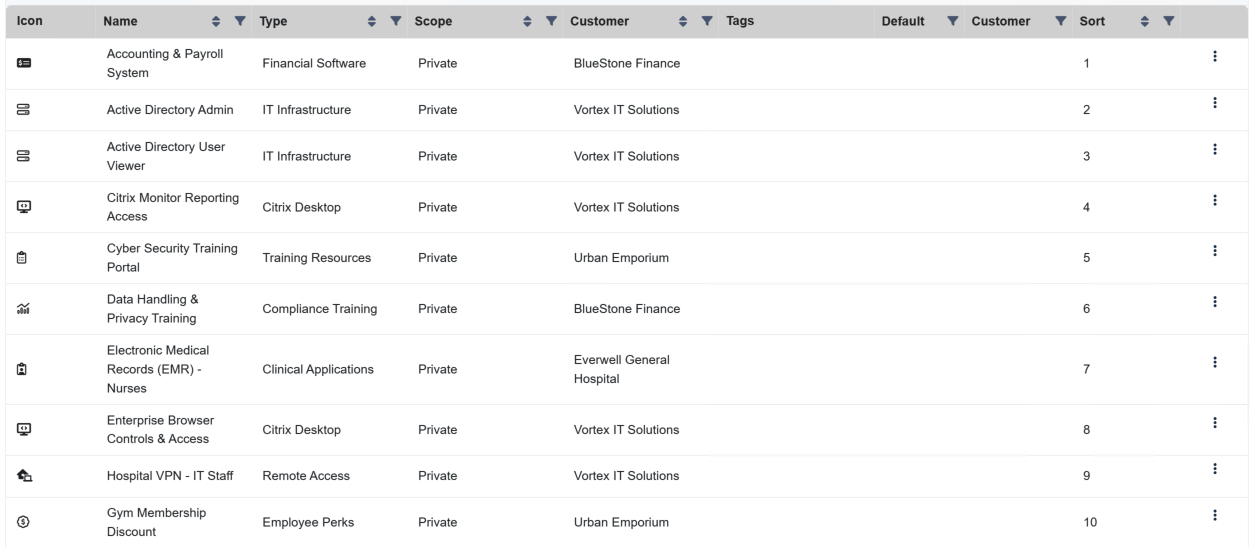
Examples:
How to Create a Workspace Item
The next step is to create your Workspace Items.
- Navigate to
Services > Workspace > Workspace Itemson the left hand pane:
- Click + Add to open the creation window:
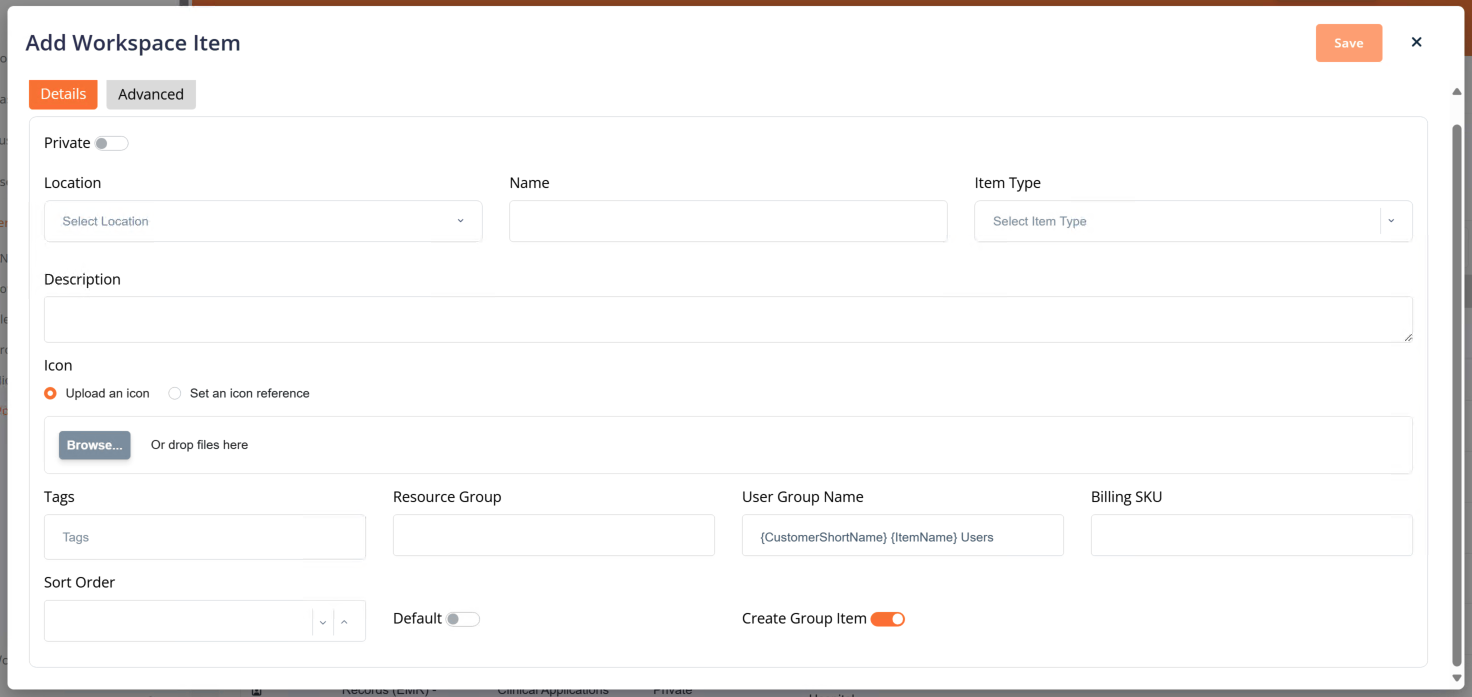
- Fill in the fields with the desired values.
- Private Toggle: Determines whether the Item is Private or Shared across customers
- Location: Determines the Location for the Item
- Name: A friendly name for the item to be displayed against in Atria
- Item Type: Assign a Workspace Item Type
- Description: A description for the Item
- Icon: An icon to be displayed across Atria
- Tags: Add any Atria tags to the item
- Resource Group: Name of the AD resource group to be created
- User Group Name: Name of the AD user group to be created. (Shared Items only)
- Billing SKU: Used for tracking usage for billing.
- Sort Order: Defines the Item list order in Atria.
- Default: Determines whether the Item is enabled by default when Customers are provisioned with Workspace.
- Create Group Item: This is enabled by default, disable this to create a Groupless item.
- Customer Only Item: This toggle appears when the Private Toggle is enabled. Enabling this will create the Item as a Customer Only Item.
- Click Save to create the group.
Examples:
How to Create a Workspace List
To be able to provision Shared Workspace Items to Customers and Users, you need to put them in a list. This does not apply to Private Items.
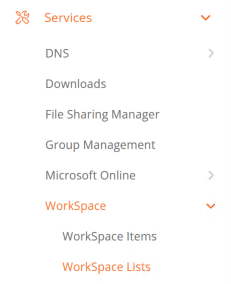
- Navigate to
Services > Workspace > Workspace Listson the left hand pane:
- Click + Add to open the creation window:
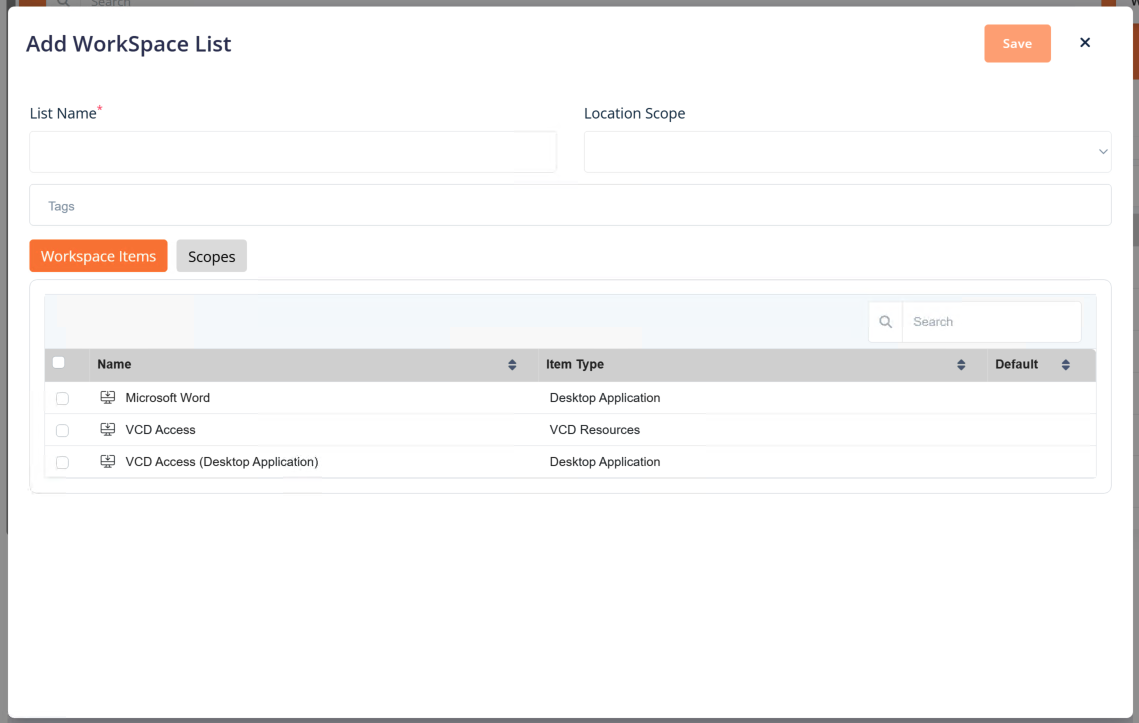
- Fill in the fields with the desired values.
- List Name: Friendly name for the list in Atria.
- Location Scope: Location of the list.
- Tags: Add any tags to the list.
- Workspace Items: Choose the items to be within the list.
- Click Save to create the group.
Examples:

How to Create a Workspace Role
A way to organize Workspace Items and save your engineers time is to create Workspace Roles. This is not a necessary step in provisioning Items to users.
- Navigate to
Services > Workspace > Workspace Roleson the left hand pane:
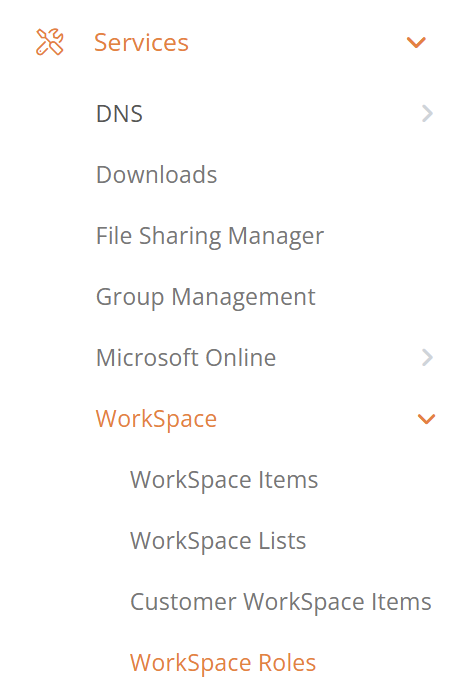
- Click + Add to open the creation window:
- Fill in the fields with the desired values.
- Role Name: Friendly name for the list in Atria.
- Sort Order: Determines the order of Roles within the Workspace Roles page.
- Workspace Items: Choose the items to be within the Role.
- Click Save to create the group.
Examples:

How to Provision Workspace to Customers
Before provisioning items to users, you need to first provision them to the customers. Ensure you have configured ItemTypes, Items, and Lists (If using Shared Items) before following this guide.
- Navigate to Services on your top-level (Service Provider) customer:
- Open the Reseller service for the desired location, tick Workspace and any Workspace lists that you want to provision:
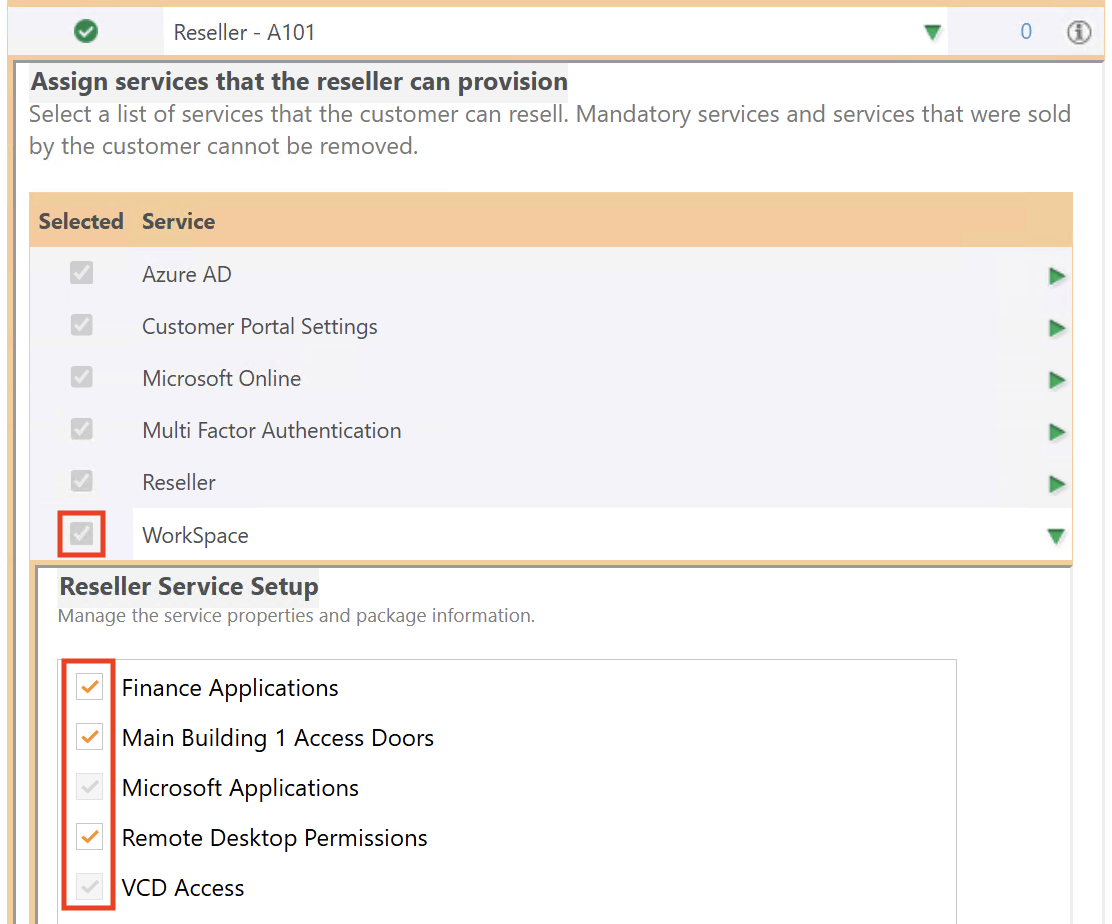
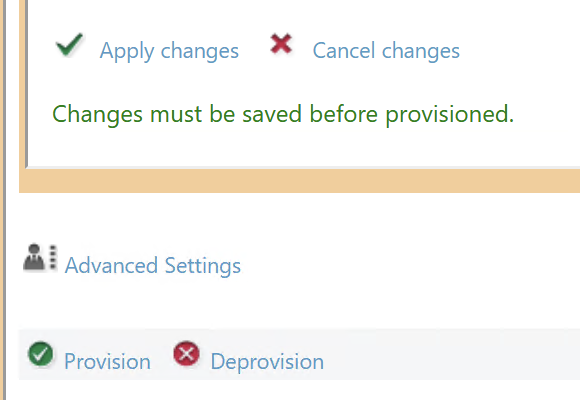
- Click Apply Changes and Provision:
-
Navigate to Services on your desired customer (Same process as Step 1).
-
Expand Workspace, tick the desired Private Items and Shared Items from your lists, and click Provision:
You have now provisioned Workspace Items to your customer.
How to Provision Workspace to Users
Ensure Workspace and the desired Workspace Items have been provisioned to the customer that the user belongs to before following this guide.
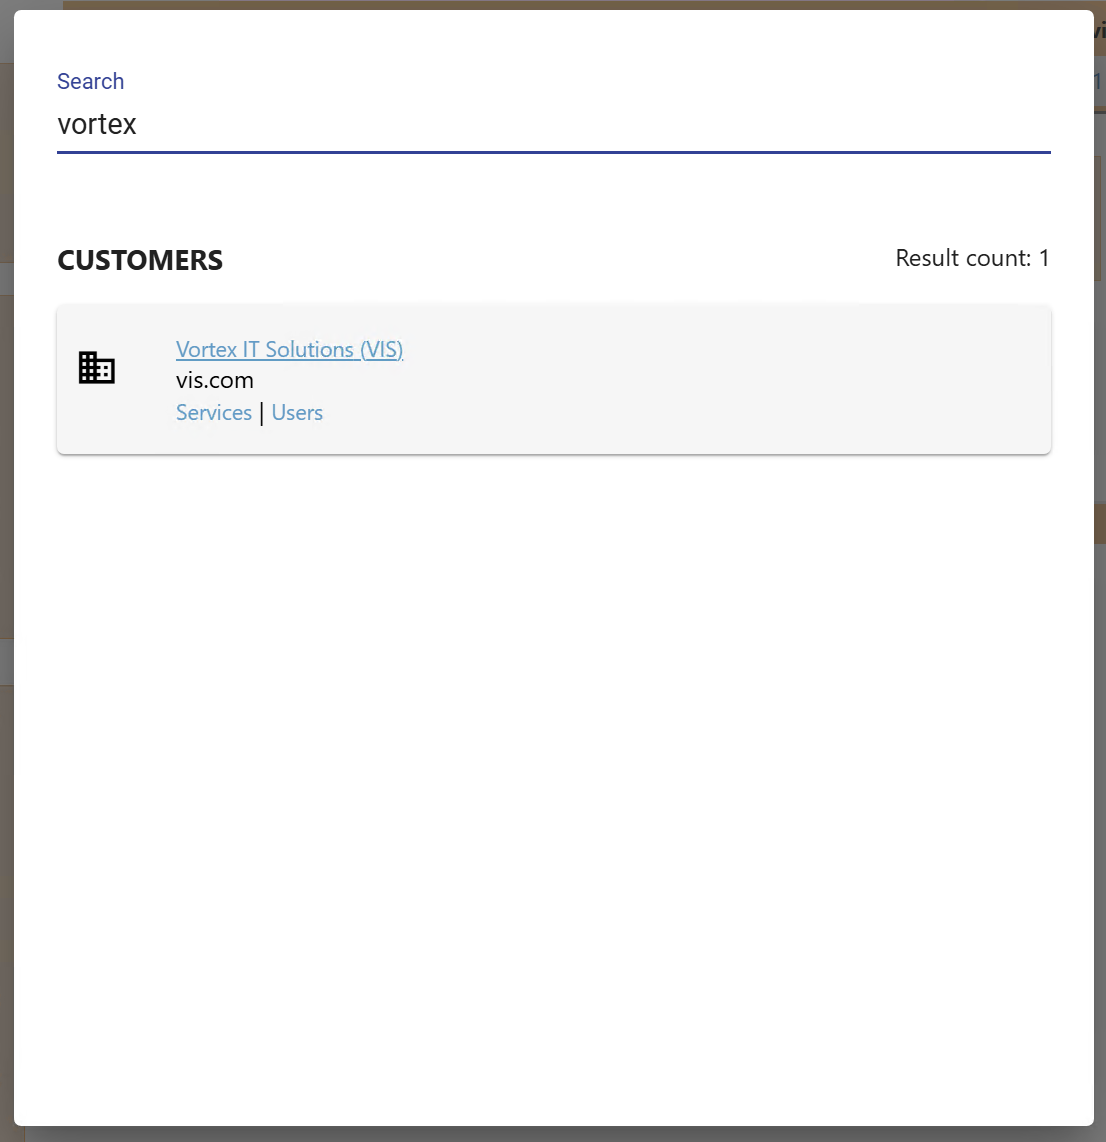
- Select the correct customer context by searching for your customer in the top search bar:

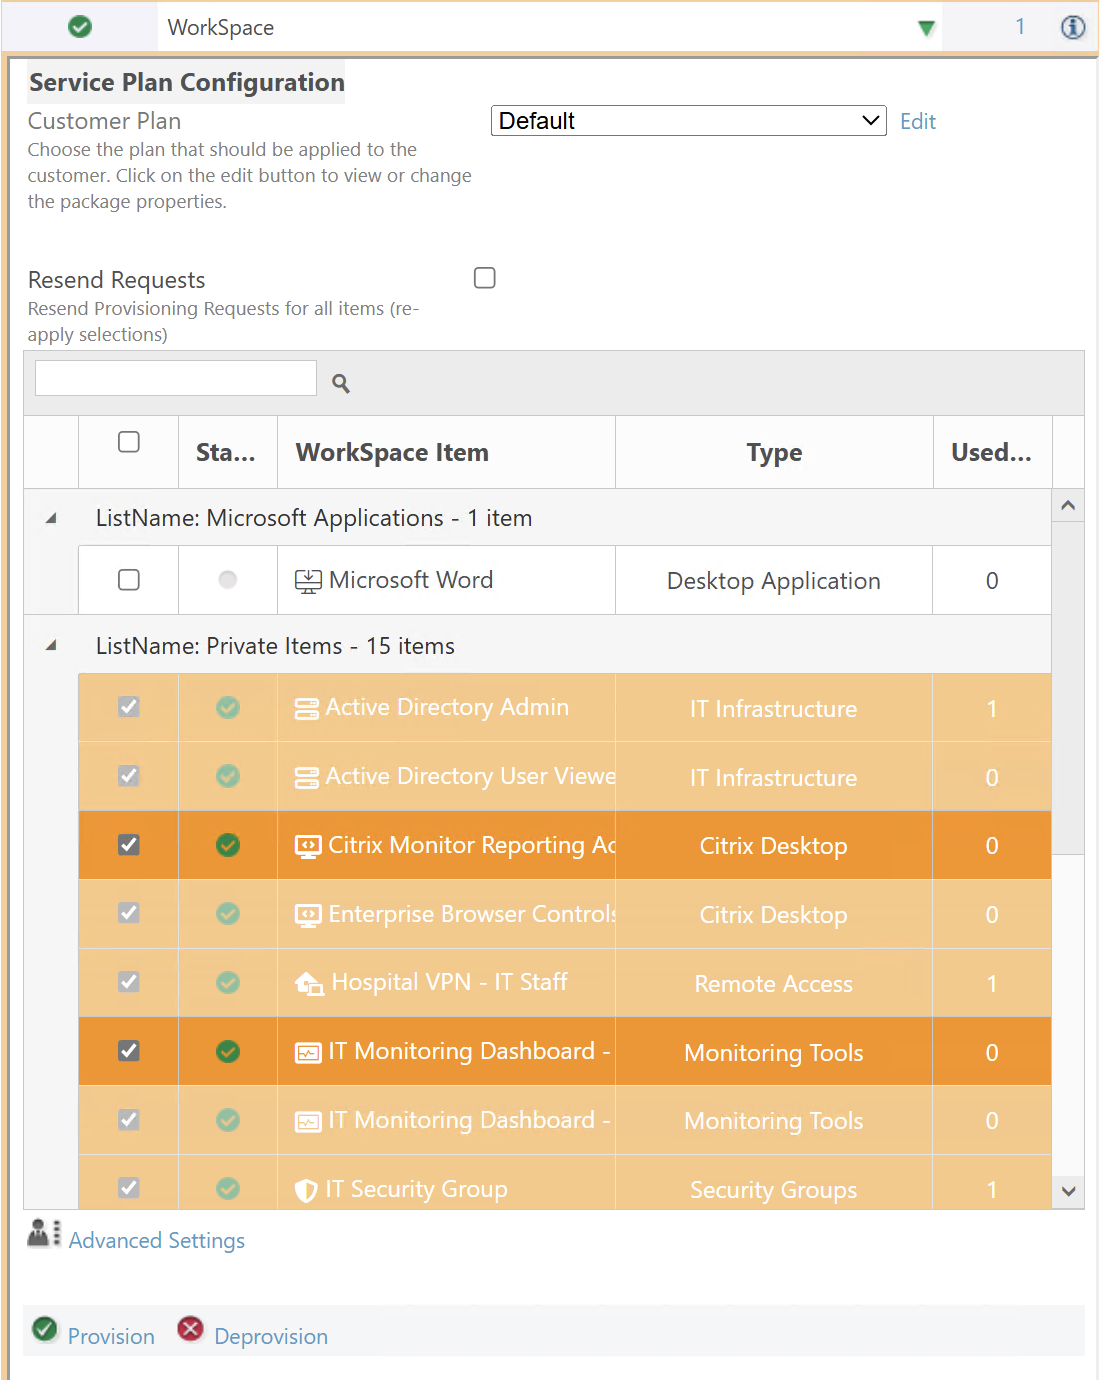
- Navigate to user services, by heading to Users, and expanding the desired user:

- Expand Workspace and you will see the Workspace Items that have been provisioned to the customer. Tick the items you want to provision to the user and click Provision:

The chosen items have now been provisioned to the user. The user should appear in any related Active Directory security groups and any automation events that have been setup should trigger.
Summary
Please feel free to share this documentation with your customers so that they can learn how to use the Atria Platform. We are currently working on expanding this page to include more guides. If you have any requests/ suggestions or require further info, please contact us at support@getatria.com.