Customer Management
Overview
In Atria, Customers represent the organizational entities under which users, services, and resources are managed. Creating and managing customers effectively ensures a clear hierarchy and organized administration of users and services.
Creating a New Customer in Atria
Step 1: Access the Customer Creation Page
- Log in to the Atria portal.
- Navigate to the left-hand menu:
Customers > New Customer. - Or, navigate to
Customers > Customersand click on New Customer.
Step 2: Enter Customer Details
Fill in the following required fields:
-
Full Name:
The full name of the customer or organization. This is used as the primary identifier for the customer within Atria. -
Code:
A unique alphanumeric identifier for the customer. This is auto-generated by default but can be manually customized to meet your organizational requirements. -
Contact Name:
The primary contact person for the customer. This could be the administrator or manager responsible for liaising with the service provider. -
Email Address:
The email address of the contact. Ensure this is valid, as it will be used for communications, notifications, and account-related messages. -
Customer Type:
Specifies the type of customer, Standard, Test, or Demo. -
Domain Name:
The primary domain name associated with the customer. This domain will be used for provisioning users and services. Ensure the domain name is properly formatted (e.g.,example.com). Click Update after entering this to add it. -
Domain Aliases (Optional): Add any additional domains associated with the customer, if required.
-
Additional Options: If applicable, fill out additional fields like Address, City, State, ZIP Code, and Contact Information in the Additional Options.
Step 3: Configuring Advanced Customer Properties
Additional configurations can be made through Advanced Properties.
Here, you can configure:
- Branding: Apply specific branding options for the customer.
- Security Roles: Define administrative roles specific to this customer.
- Account Settings: Specify password policies, user limits, and other customer-level policies.
Step 4: Save the Customer
After entering the required details, click Save/Provision to create the Customer.
Step 5: Create the Administrator
After you have created the Customer, you will be prompted to create an Administrator for the Customer.
You will need to enter:
- UPN
- Username
- First Names
- Last Name
- Display Name
- Password
You can also configure an email address and further options for the user.
After entering the required details, click Save/Provision to create the Administrator.
Step 6: Provision Services
The next prompt gives you the option to provision services to your new Customer. Don't worry if you haven't setup any services yet, you don't need to do anything here.
If you would like to provision a service, ensure that you have deployed and configured it correctly. If not, these can easily be added at a later date through the Customers page.
Step 7: Confirm Creation
Click on the name of your Customer under Customer Management to view your customer and ensure that the details are correct.
Scribe
Below is a scribe tutorial on the process:
Managing Existing Customers
Editing a Customer
To modify customer details:
- Navigate to
Customers > Customers. - Select the customer from the list.
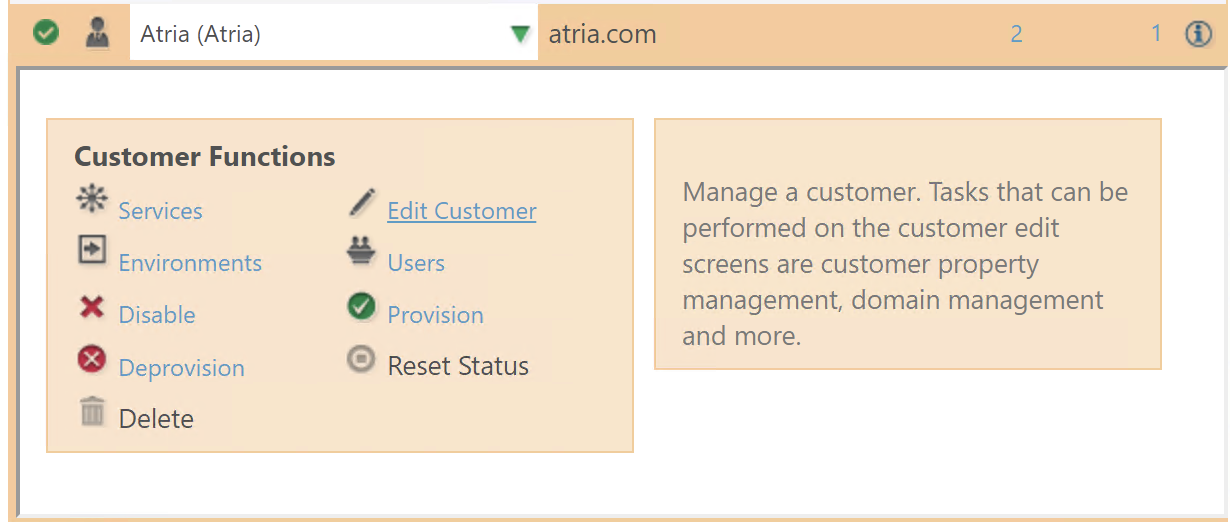
- Click Edit Customer to edit the same parameters you set at creation.
- Click Provision to save and apply changes.

Deleting a Customer
To delete a customer:
- Navigate to
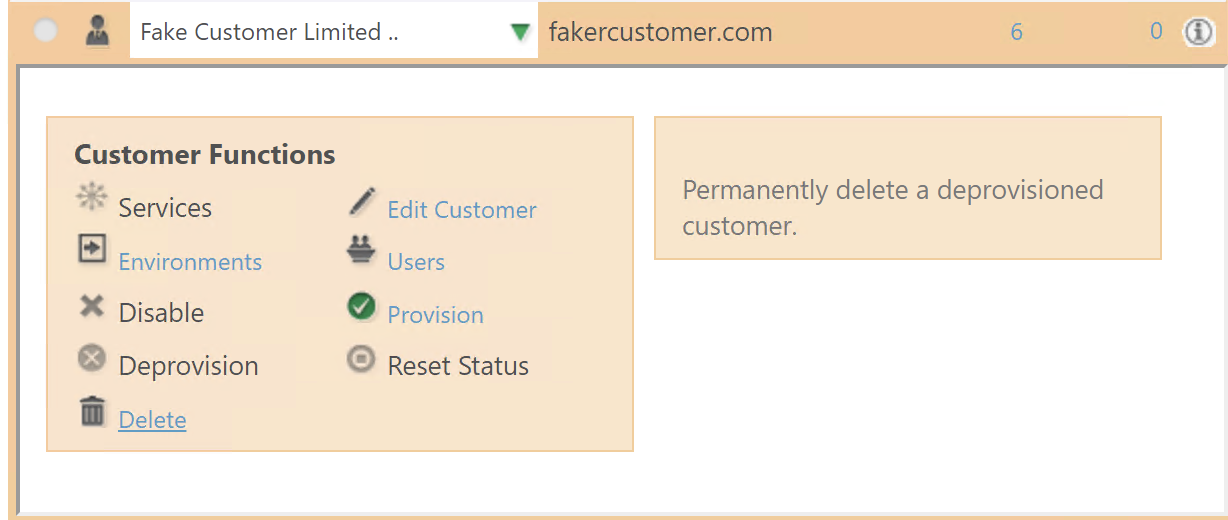
Customers > Customers. - Select the customer, and click Deprovision.
- Once that is successful, click Delete.

Deleting a customer will remove all associated data, including users, services, and resources.
Important Notes
- Once a customer is managed through Atria, all subsequent changes should be made through the platform. Modifying settings directly in Active Directory or connected systems may result in conflicts or overwrites during provisioning.
- Customers can inherit branding, security roles, and other configurations from their parent reseller or service provider. Ensure proper hierarchy management for seamless updates.
Conclusion
By following the steps outlined above, you can efficiently create and manage customers in Atria, ensuring a well-structured and easily maintainable environment. For further customization, see the Advanced Property Configuration Settings or for White Labeling for specific clients see Branding.
The next page will cover further customer configuration options and advanced customization tools you can use when creating or editing your customers: Advanced Customer Configuration.