Configuring User Templates
Overview
User Templates in Atria allow you to streamline user creation by applying predefined settings based on standard job, location or access based roles within an organization, ensuring consistency across similar roles within the organization.
Add User Templates to each customer, and pre-configure:
• Microsoft 365 licenses
• Group memberships
• Endpoint or remote desktop profiles
• WorkSpace roles
• Default office location, phone number, manager and job title
For large organizations with unique requirements, Templates can be used to standardize user roles and permissions. Templates are useful when creating new user accounts or when aligning existing users to a standard access model.
Creating a Template User
Navigate to Customers, Select and expand the Customer to be updated, click Users.
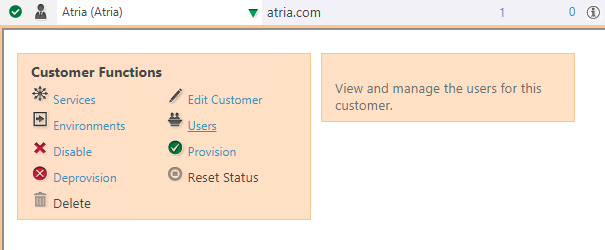
This will open the User List for that Customer.
On the Left Navigation Pane, under Management, click on New Template User.

- Input necessary details on the User Details fields (i.e. Name the template based on the usage, for easier user reference)
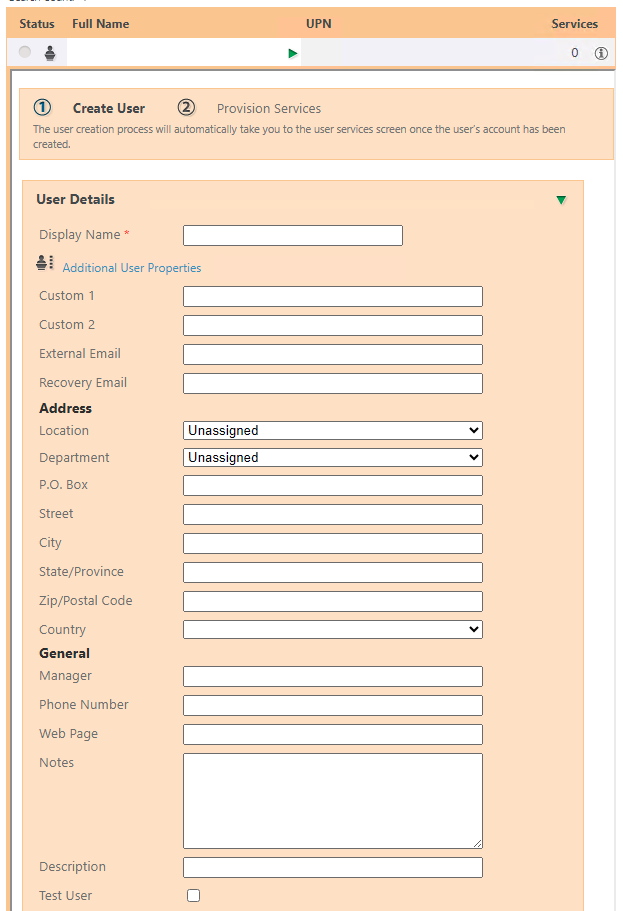
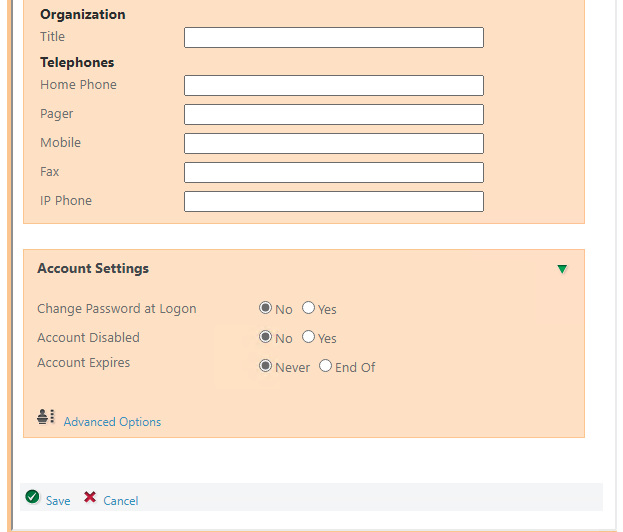
For Security Roles, you may set a custom role for the template. If no role is selected, the account will be just a User without any special privileges.
- Click Save after all the User Details are set.
- On the Provision Services tab, select and expand the Service that will be tied-up with the template. Configure the user service to be used and click on Save.
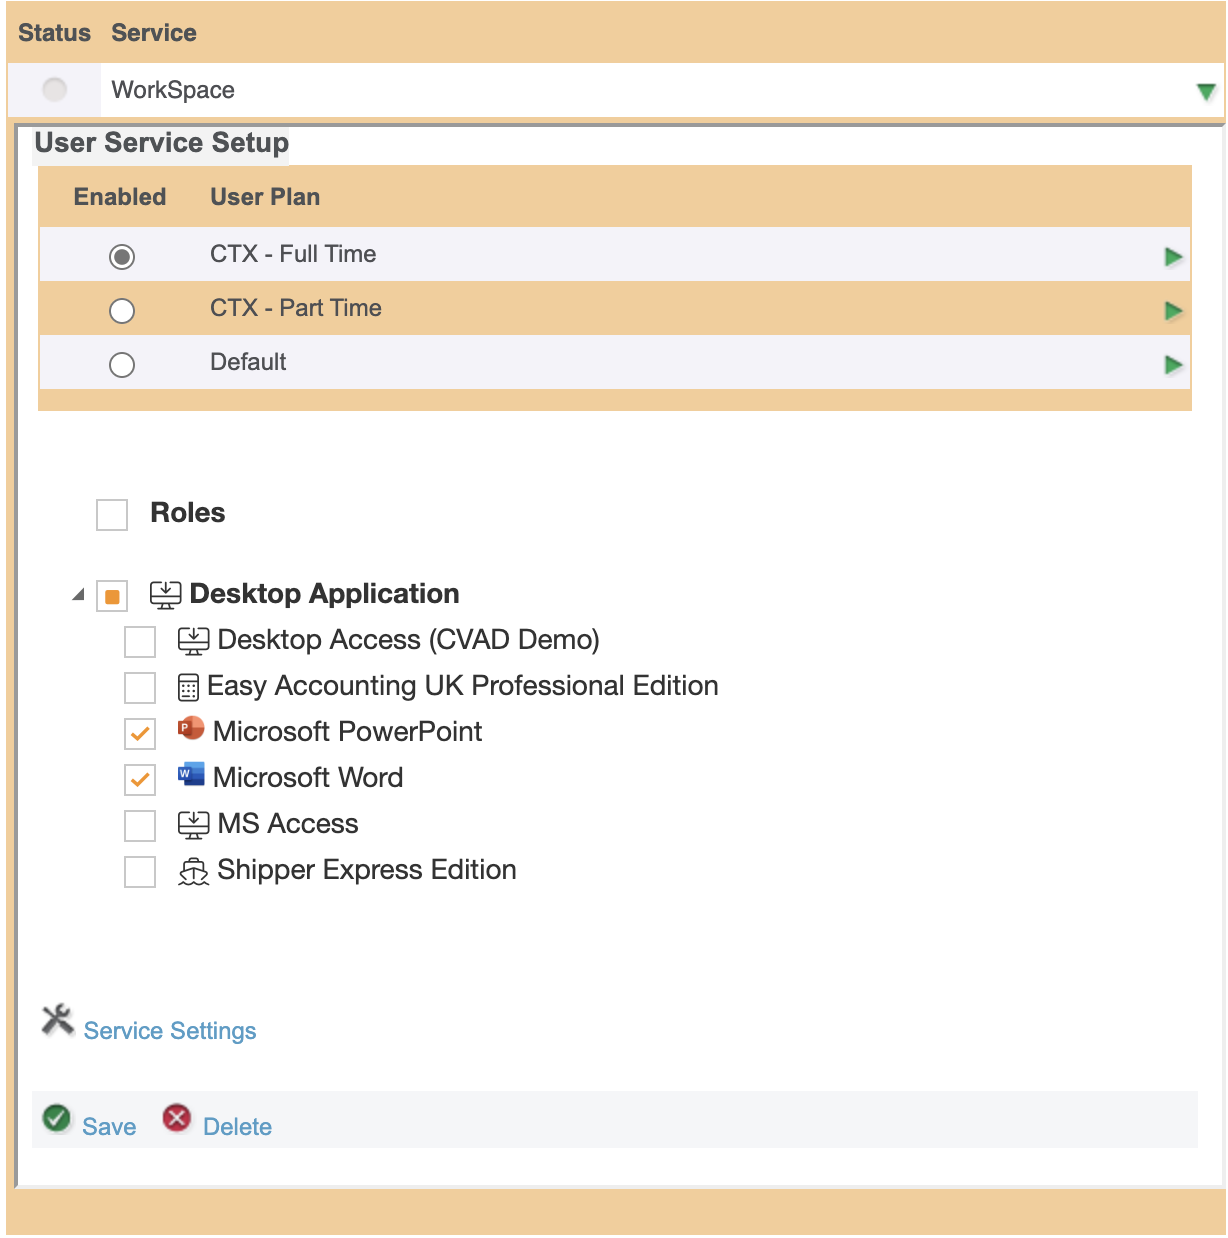
- After saving the template, you will notice that the status is color blue. (Pending changes for user customization).
- After that, the template is now ready to be used for the creation of Users.
Search for a Template User
Navigate Users > Advanced Search > User Types (Template), and click Search
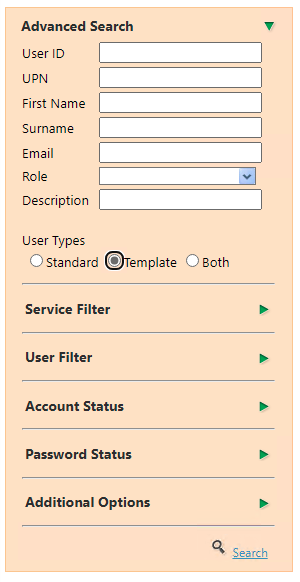

- List of Customer Template User will be displayed
Create a New User Based on a Template
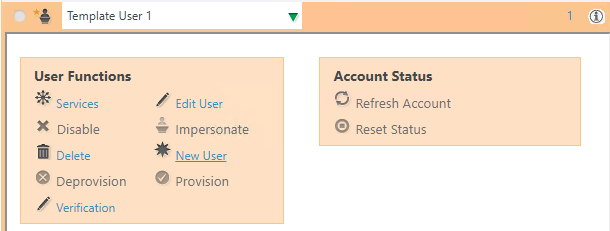
- Select and expand the Template User to be updated.
- Click on New User:
- Input necessary User Details. (Notice that some information are already inherited from the template).
- Input details for Password Configuration, Update Account Settings (details including security role are inherited from template), and Add Email Address of the User.
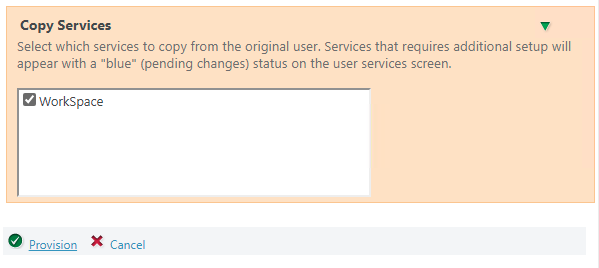
- Verify the details of Copy Services (inherited from template).
- Click on Provision once all the details are correct.

- The status will turn green once the User has been successfully provisioned.
Changes to the template will not affect existing users that were created using the template. The changes will only apply to new users created using the template.