Updating Atria via AtriaNuget Local Packages
Overview
This article explains how to update Atria using AtriaNuget Local Packages. By downloading the latest packages to a Local NuGet Repository in advance, you can streamline the update process by skipping external downloads, saving time and reducing delays.
A Local NuGet Repository stores packages on a local network or machine, enabling faster installations and updates. This approach is ideal for secure environments or when managing custom packages internally.
This process requires IIS features to be configured on the server, so it is recommended to set it up on the Primary Provisioning Server.
Setup the Local Nuget Repository
-
Download the following file: AtriaNuget.zip
-
Extract the AtriaNuget folder and place in
C:\inetpub\wwwroot: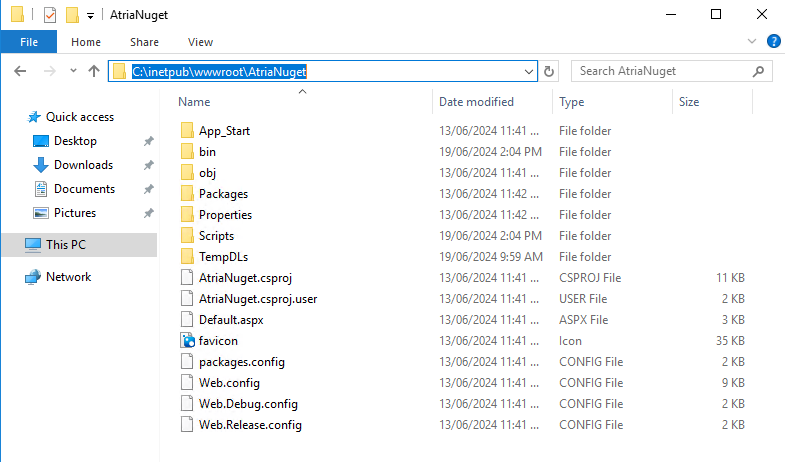
-
Open the Properties of the AtriaNuget folder, navigate to the Security tab, and click Edit. Click Add and type in
Everyonethen tick the Full control permissions box. This is to avoid any restrictions later when accessing the packages on this local repository.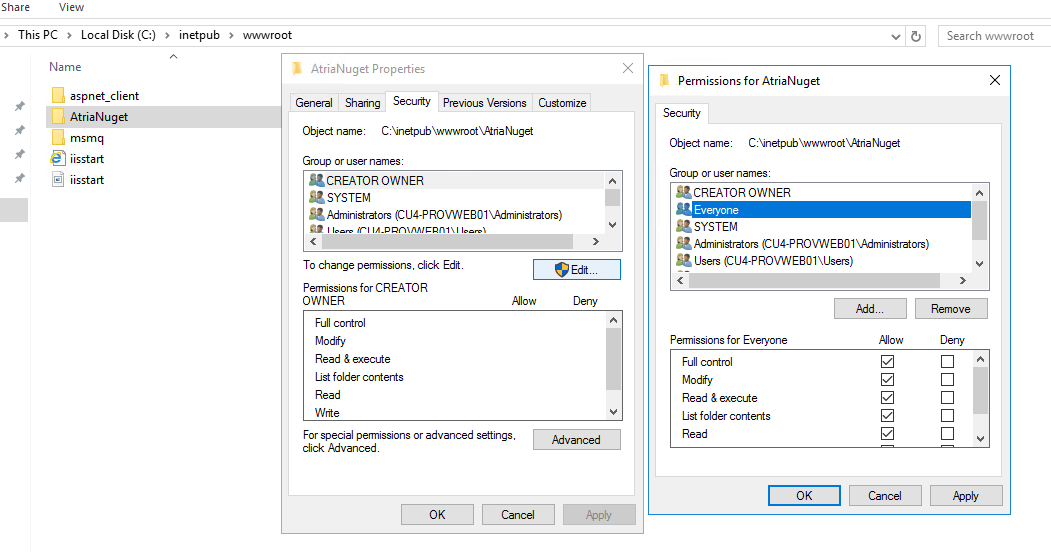
-
Open IIS, navigate to Sites, and click Add Website:
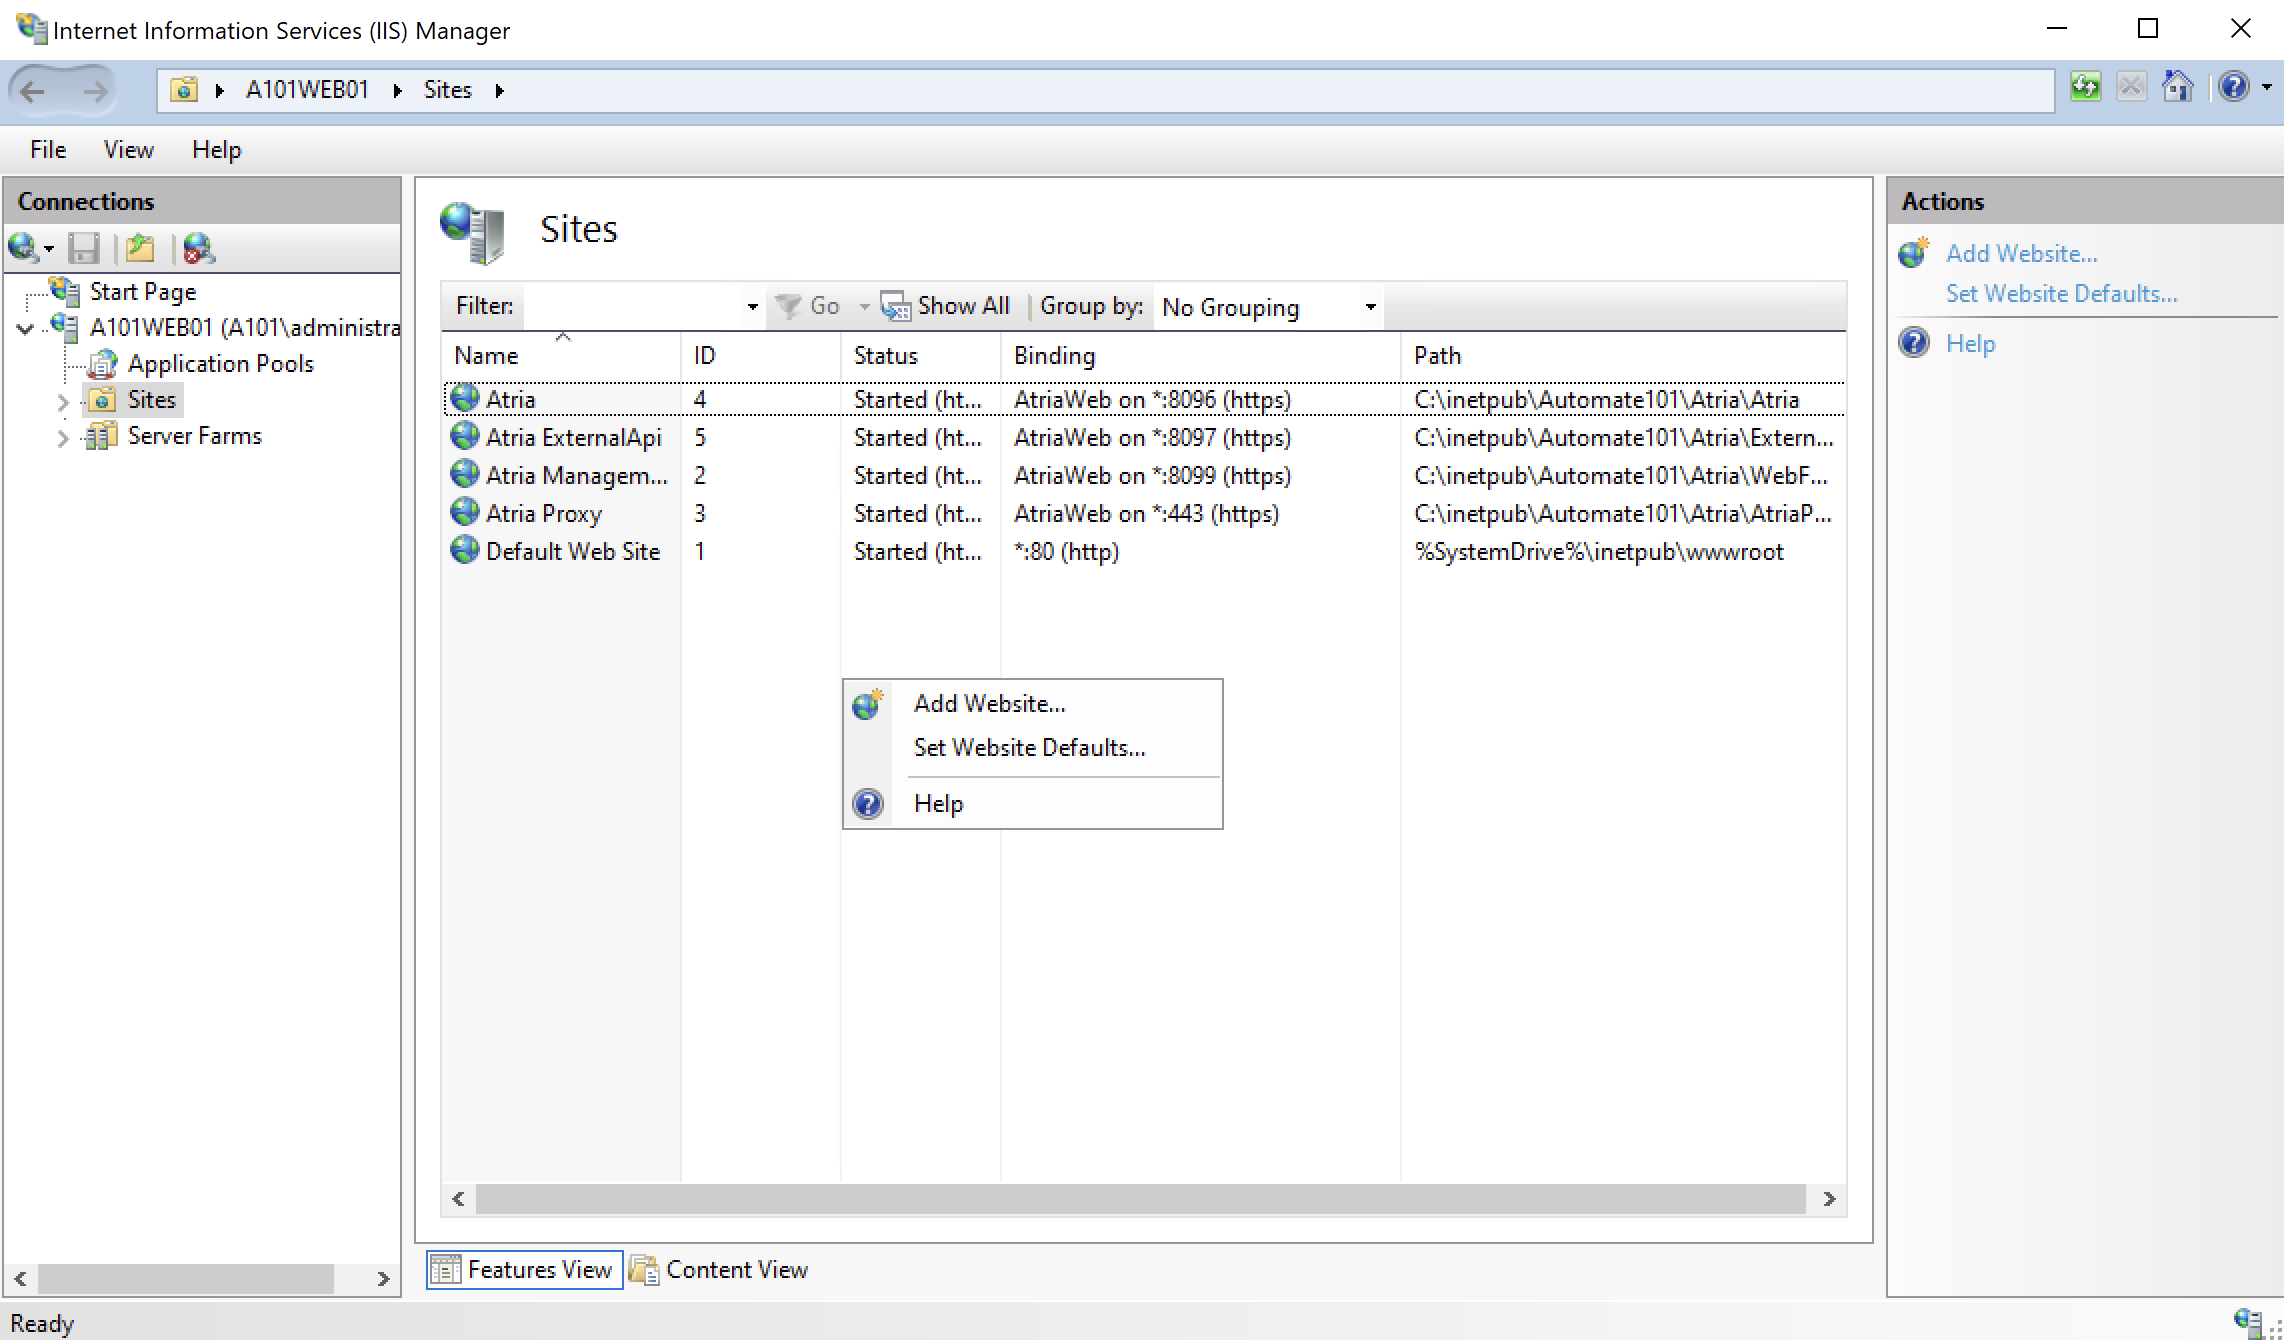
-
Set the parameters as shown in the screenshot below and click Ok:
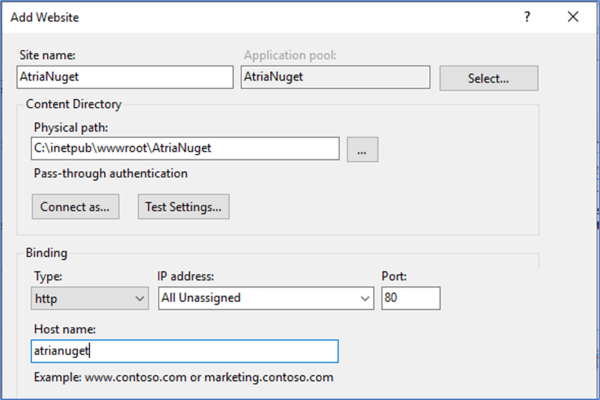
-
Create a CNAME DNS record for
AtriaNugetresolving to the server you are configuring AtriaNuget. -
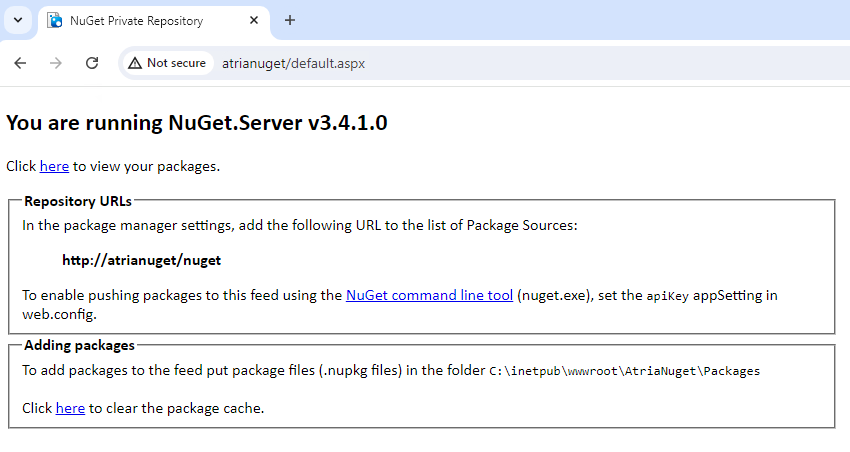
Access the default website of the local NuGet website (http://atrianuget/default.aspx):
Download the Latest Available Atria Package to Local Nuget Repository
-
In the AtriaNuget folder, there is a folder named Scripts:

- Using an administrative PowerShell window, navigate to this folder.
-
Setup the Temporary Download Path and Atria Package Path with the following commands:
$tempDLPath = 'C:\inetpub\wwwroot\AtriaNuget\TempDLs\'
$atriapkgPath = 'C:\inetpub\wwwroot\AtriaNuget\Packages\' -
Connect to the Atria Feed:
Connect-AtriaFeed -UserName '<any username>' -PersonalAccessToken '<PersonalAccessToken given by Atria Support>' -FeedUrl 'https://pkgs.dev.azure.com/Automate101/A101/_packaging/Atria-Beta@PublicBeta/nuget/v2'- Please contact our support at support@getatria.com if you need a Personal Access Token.
-
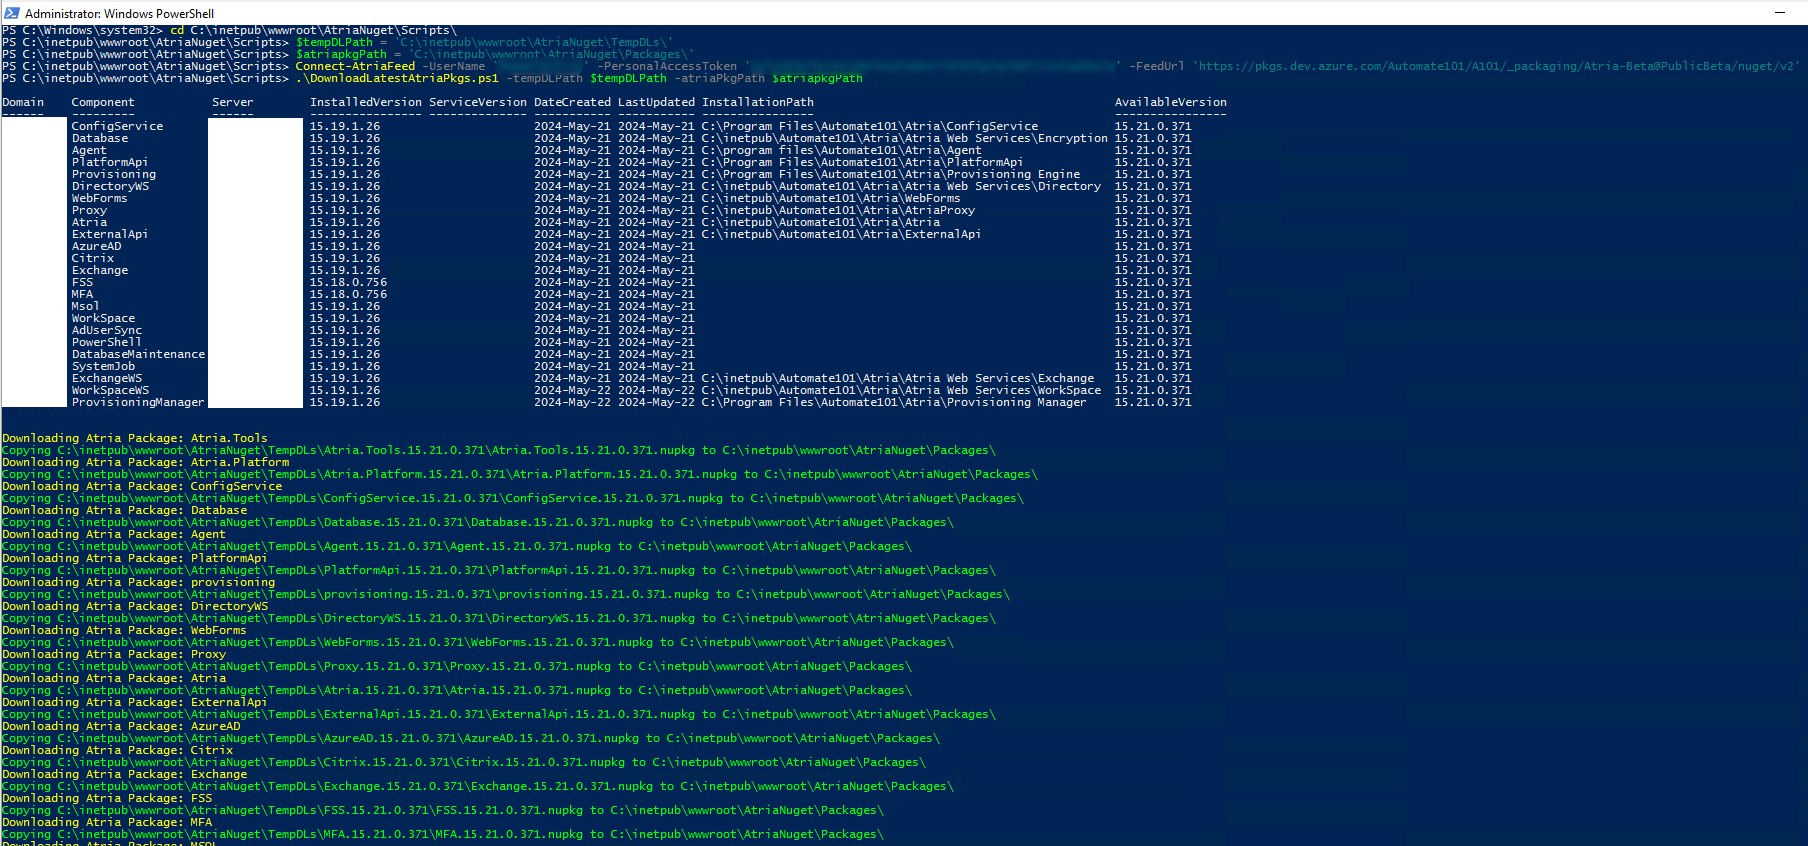
Run the following command:
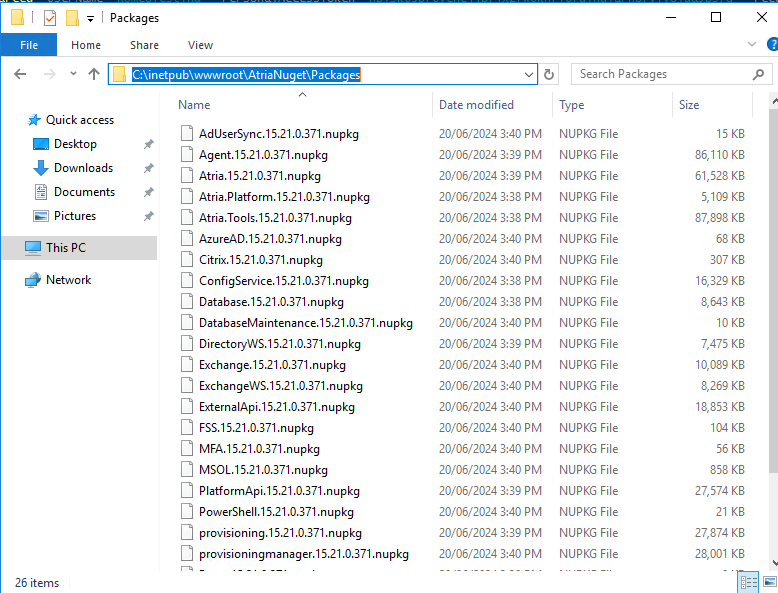
.\DownloadLatestAtriaPkgs.ps1 -tempDLPath $tempDLPath -atriaPkgPath $atriapkgPathinfoThis script executes Get-AtriaComponent -ListOutOfDate, and will download the latest available packages for each component that is out of date.
Example
Updating Atria Using the Local Nuget Repository
This step can only be completed if all the above steps were successful. We recommend creating snapshots/ backups prior to updating.
-
Connect to the Local Nuget Repository:
Connect-AtriaFeed -UserName 'Local' -PersonalAccessToken 'Local' -FeedUrl 'http://atrianuget/nuget' -
Verify that packages can be retrieved from the Local Nuget Repository:
Get-AtriaPackage | Select Identity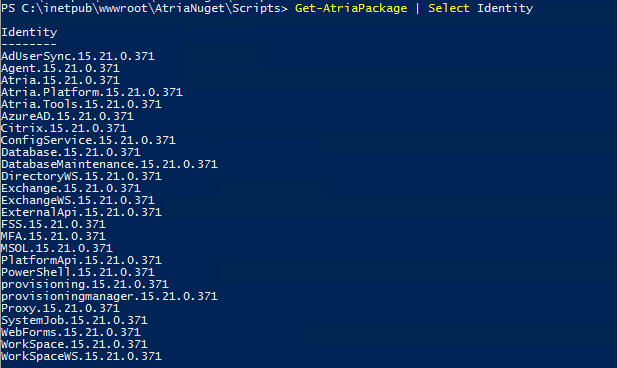
-
Update the Atria Modules. After updating the modules, close and re-open your administrative PowerShell session.
Update-AtriaToolsModule
-
Update the Atria Components:
- To include a backup of your database:
Update-AtriaOutOfDateComponents - To skip the backup:
Update-AtriaOutOfDateComponents -SkipDBBackup
- To include a backup of your database:
-
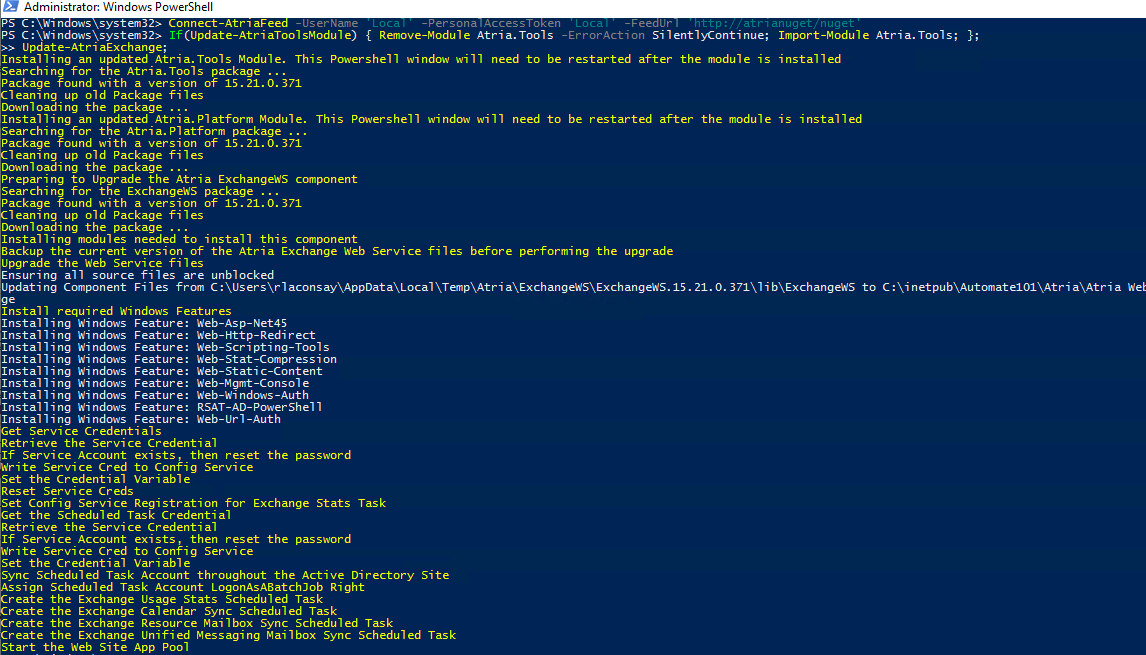
If prompted to run a given command on a specific server for the Web Components or Web Services, make sure to first run the following command to connect to the local Nuget repository on the target server:
Connect-AtriaFeed -UserName 'Local' -PersonalAccessToken 'Local' -FeedUrl 'http://atrianuget/nuget' -
After that, run the given command in an administrative PowerShell session on the target server.

-
Once all components on the Primary Environment are updated, you can list the components and check that they are on the latest version.
Get-AtriaComponent | FT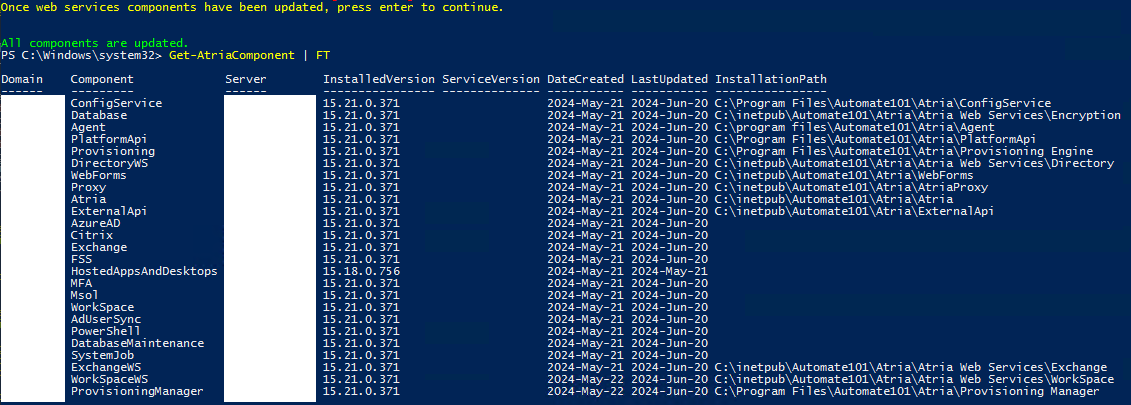
Remote Environments
-
On the Remote Environment, setup a A Record DNS Entry for AtriaNuget pointing to the IP Address of the Primary Provisioning Server.
-
On the Remote Provisioning Server, Connect to the Local Nuget Repository:
Connect-AtriaFeed -UserName 'Local' -PersonalAccessToken 'Local' -FeedUrl 'http://atrianuget/nuget' -
Verify that packages can be retrieved from the Local Nuget Repository:
Get-AtriaPackage | Select Identity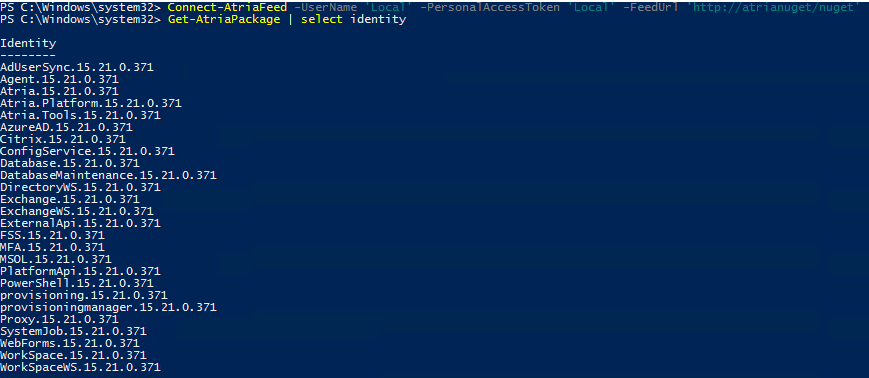
-
Update the Atria Tools Module, then close and re-open the administrative PowerShell session.
Update-AtriaToolsModule -
Update the Atria Components on the Remote Environment.
Update-AtriaOutOfDateComponents -
Once all components on the Remote Environment are updated, you can list the components and check that they are on the latest version:
Get-AtriaComponent | FT
Cleanup the Local Nuget Repository Feed
This will clear the packages folder ready for the process to be completed again.
-
In the AtriaNuget folder, there is a folder named Scripts:

- Using an administrative PowerShell window, navigate to this folder.
-
Setup the Temporary Download Path and Atria Package Path with the following commands:
$tempDLPath = 'C:\inetpub\wwwroot\AtriaNuget\TempDLs\'
$atriapkgPath = 'C:\inetpub\wwwroot\AtriaNuget\Packages\' -
Run the following command:
.\RemoveDownloadedAtriaPkgs.ps1 -atriaPkgPath $atriapkgPath -tempDLPath $tempDLPath
Notes
As we have connected to the Local Nuget Repository feed, in the future or for certain scenarios, we will need to connect back to the live Atria Repository feed, so make sure that the provided Personal Access Token as well as the Feed URL is kept.
For any questions or assistance, please contact us at support@getatria.com.