Use Group Managed Service Accounts for Atria Components
Overview
Historically, Atria has used Active Directory User accounts as the Logon Account for Services, Web Services and Scheduled tasks. These accounts typically need Administrative privileges to perform the task they are intended to do, and can therefore be a point of vulnerability.
Within Atria v15.24 and onwards, these components can be configured to use GMSA's (Group Managed Service Accounts). In fact, any new component installation will automatically use a GMSA as the Logon Account for these components.
If you installed Atria from v15.24 onwards, then GMSAs and the WebServiceConnect credential will already be setup for you. This process is for instances where Atria was installed before v15.24 but has been updated. In this scenario, we recommend reconfiguring all Component accounts to use GMSA's instead of Active Directory User accounts.
Older versions of Atria can also be configured this way, although it is a lot harder to do so. This document will only detail how to configure GMSA's for an Atria component for v15.24 or higher.
Creating GMSA's
The command below needs to be ran in an administrative PowerShell session on your provisioning server:
$Cred = Get-Credential
Set-AtriaInstallerCredential -Component <componentname> -Server <servername> -Credential $Cred
- Component:
The following table lists the ComponentName for the components that are currently setup to use these accounts.
| Component | ComponentName | Type |
|---|---|---|
| Atria Config Service | configservice | Service |
| Atria Agent | agent | Service |
| Atria Platform API | platform | Service |
| Atria Provisioning Service | provisioning | Service |
| Directory Web Service | directoryws | Web Service |
| MSOL Web Service | msolws | Web Service |
| WorkSpace Web Service | workspacews | Web Service |
| Scheduled tasks | scheduledtasks | Scheduled Tasks |
- Server:
Enter the name of your Provisioning Server.
- Credential:
When prompted for the credential, use the following naming convention for the username:
Domain\Account$
Example:
MyTestDomain\Atria_PS_Svc$
-
The account name cannot exceed 15 characters in length.
-
Leave the Password field empty.
This will store the desired credential securely in the Atria Config Service.
After you have ran this command, You will need to run an upgrade against the component to implement the credentials.
Example for upgrading Atria Agent:
$Cred = Get-Credential
Set-AtriaInstallerCredential -Component Agent -Server (HostName) -Credential $Cred
Update-AtriaAgent
The Agent will be updated (to the highest version available that is less than or equal to the version of the Atria.Tools Powershell module that is installed on the Provisioning Server), and the Service will be reconfigured to use this account.
Any Certificates that the account needs access to will also be updated automatically.
WebServiceConnect Account
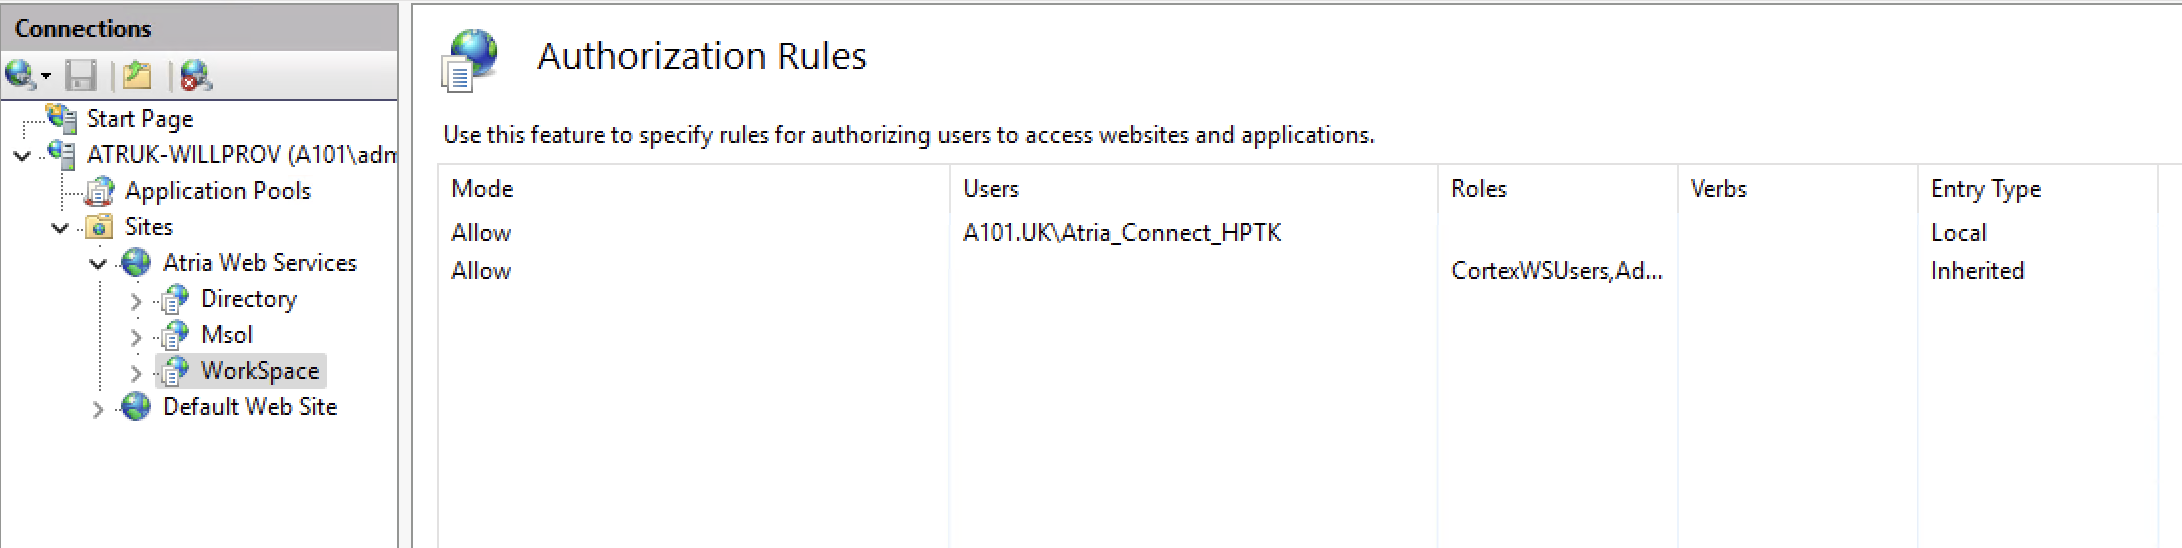
Although Atria services can be configured to use GMSAs, Atria still requires an Active Directory user account to communicate with the web services. To resolve this, we will create create a single 'WebServiceConnect' credential to be used for all services.
This step affects services that have been setup with a credential within Service Deployment.
Create the WebServiceConnect Credentials
Set-AtriaInstallerCredential -Component 'WebServiceConnect' -Server (Provisioning Server Name) -Credential (Get-Credential)
-
When prompted for credentials, set the username in the following format:
-
Domain\Atria_Connect_####
-
Where Domain is the Name of your domain, and #### is 4 random characters (e.g. HjkL).
-
Create a password
-
It is important to remember these credentials as we will be implementing them into the Atria Platform in the next step.
-
You will again need to run an upgrade against the component to implement the credentials.
Example:
Update-AtriaWorkspacewill implement the WebServiceConnect credentials in IIS for the Workspace Web Service:
Add the Credential within Atria
In your Atria platform, navigate to Configuration > System Manager > Credentials and click Add.
- Add the credentials you created in the previous step and enter your Domain Name:

- For services