How to Customize User Display Name Patterns
Overview
By default, Atria uses the First Name Last Name format for the Display Name when creating new users. This naming pattern is applied during user provisioning and determines how names appear in Active Directory, Azure Active Directory, and the Outlook Global Address Book.
This guide explains how to customize Display Name patterns in Atria to suit the specific requirements of each customer.
Default Configuration
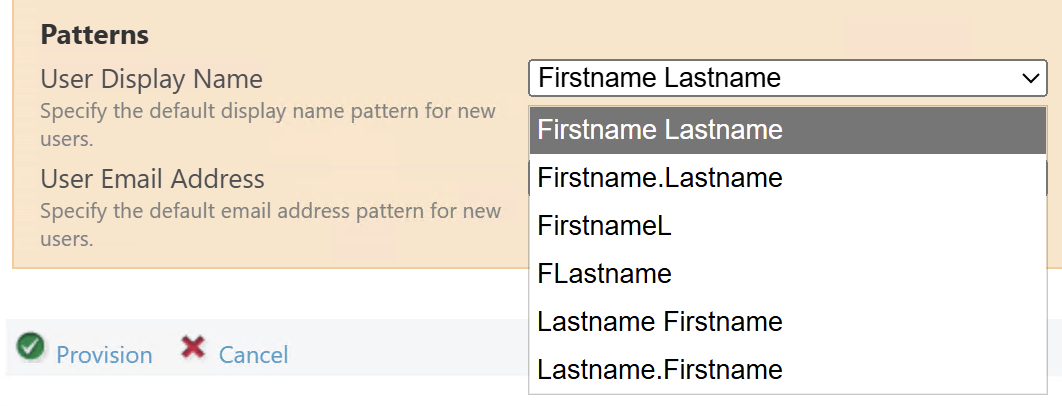
Under Customer > Advanced Properties, the default Display Name pattern is set to FirstName LastName. This is applied automatically when new users are provisioned.

There are various options for configuration in this drop-down:
Example
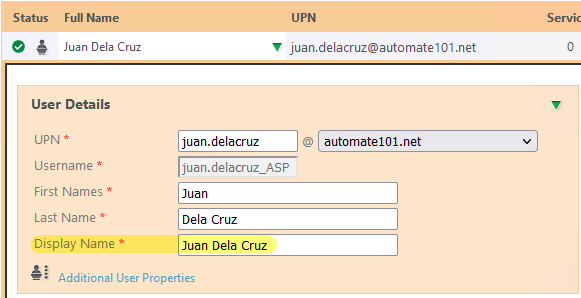
This is what the Firstname Lastname pattern will display:
Customizing the Display Name Pattern
If the naming pattern you want is not within the drop-down list, you can add it via the Configuration menu.
Validation
If you want to include special characters in the naming pattern, we need to ensure that the regular expression validation for the User Full Name field is properly configured.
- Navigate to:
Configuration > Validation

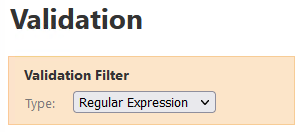
- On the Validations page, change the filter to Regular Expression:
- In the returned list, find and expand User Full Name:
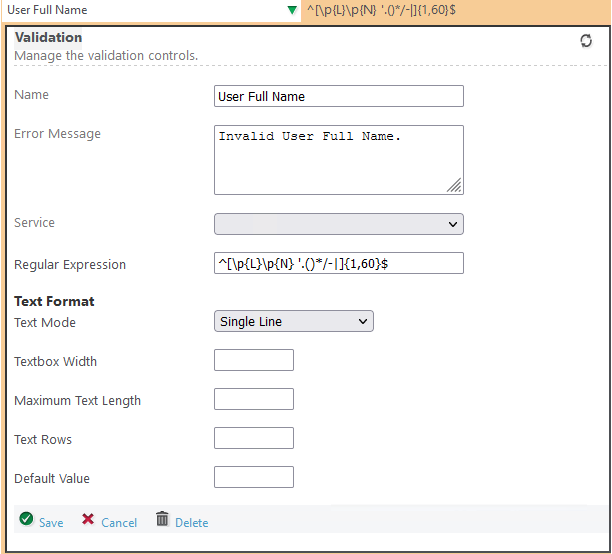
- Update the Regular Expression with the desired special character.
Updating the Naming Pattern
- Navigate to:
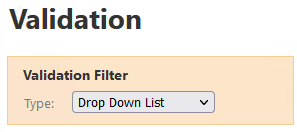
Configuration > Validation
- On the Validations page, change the filter to Drop Down List:
-
In the returned list, find and expand UserDisplayPatterns.
-
Add a new drop-down option with your custom pattern.
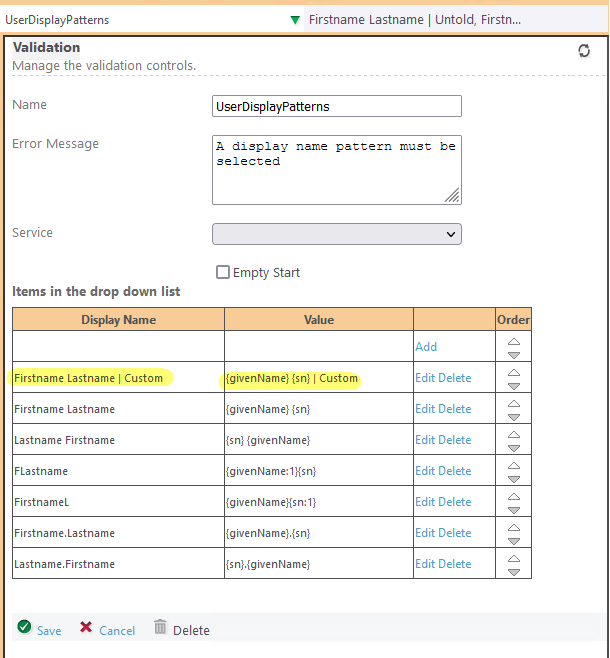
In the above example, the Display Name pattern is set to Firstname Lastname | Custom
- Click Save when finished.
Apply Setting to Customer
- Navigate to:
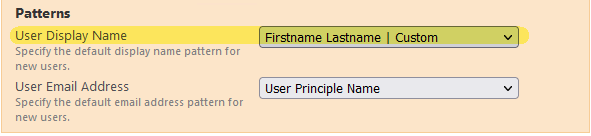
Customer > Advanced Properties
- Set the User Display Name Pattern to your new option:
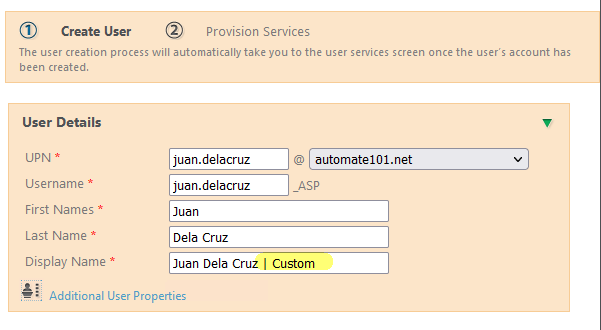
- Create a new user, to test your new pattern:
If you require any assistance or experience any errors, please contact us at support@getatria.com.